Table of Contents
- Introduction
- Chapter Uploading
- Adding Next/Prev Chapter Buttons
- Updating Front Page
- Comments
- New series
- Add a User
- Color
Introduction
This is a step-by-step guide on how to upload and update chapters on ifrqs.ezines.dk . Do note that the entire process is manual and there is no automated system to help you do anything. Uploads may take from 10 minutes up to an hour, depending on chapter length and whether Elementor freezes.
Chapter uploading (Please do this yourself)
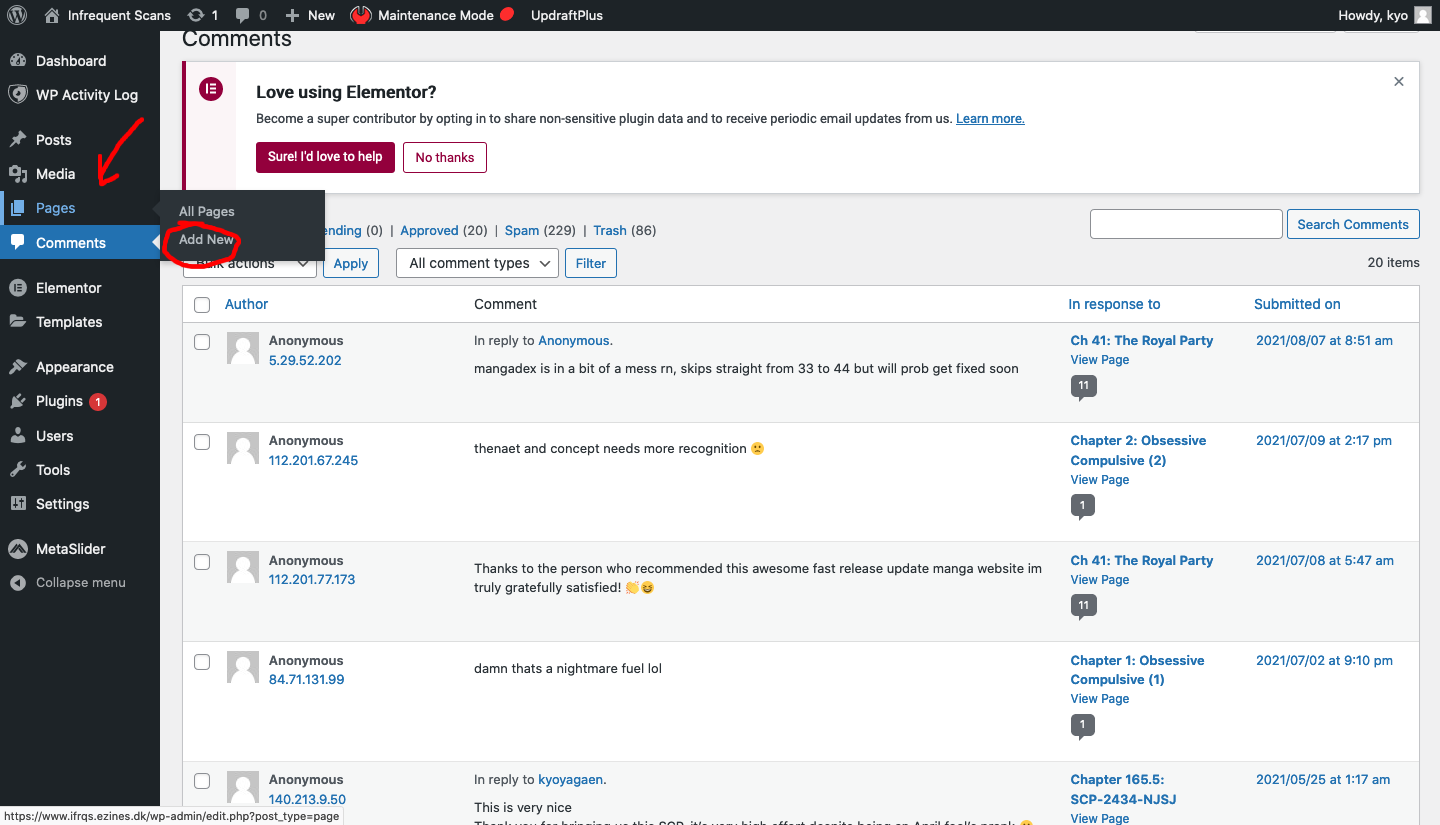
STEP #1 Once you login into your account, you should see a page like this (image below). Click on “Pages” at the sidebar on the left. Click on “Add New”.

STEP #2 Once you have successfully added page, a blank page template should show up. Proceed to fill in the chapter name. Enable comments and click publish first. Afterwards, click on “Edit with Elementor” (the blue box on the top).
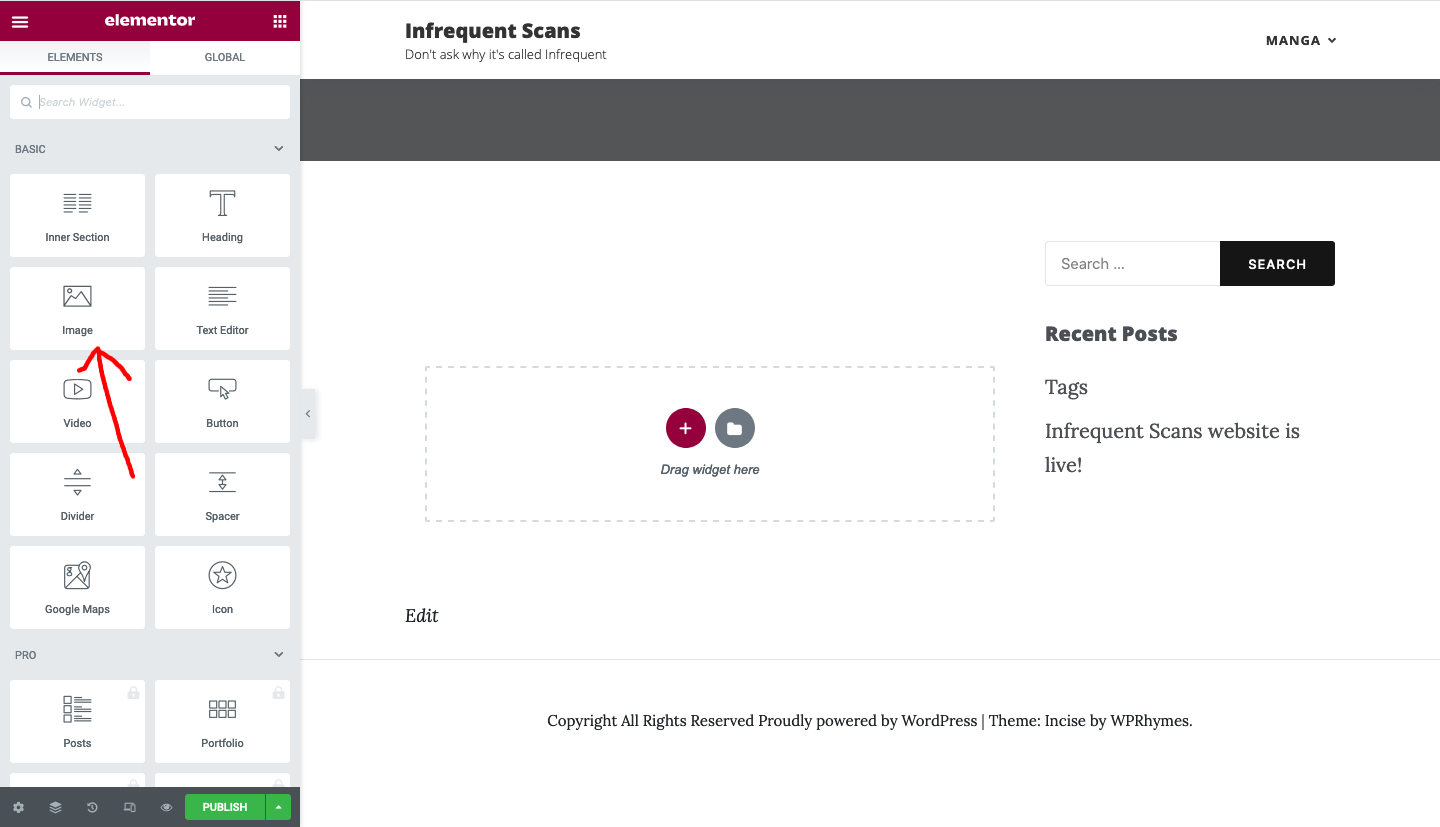
STEP #3 This is the Elementor page. Simply drag the “Image” widget from the left sidebar to the dotted rectangle which says “Drag widgets here“.
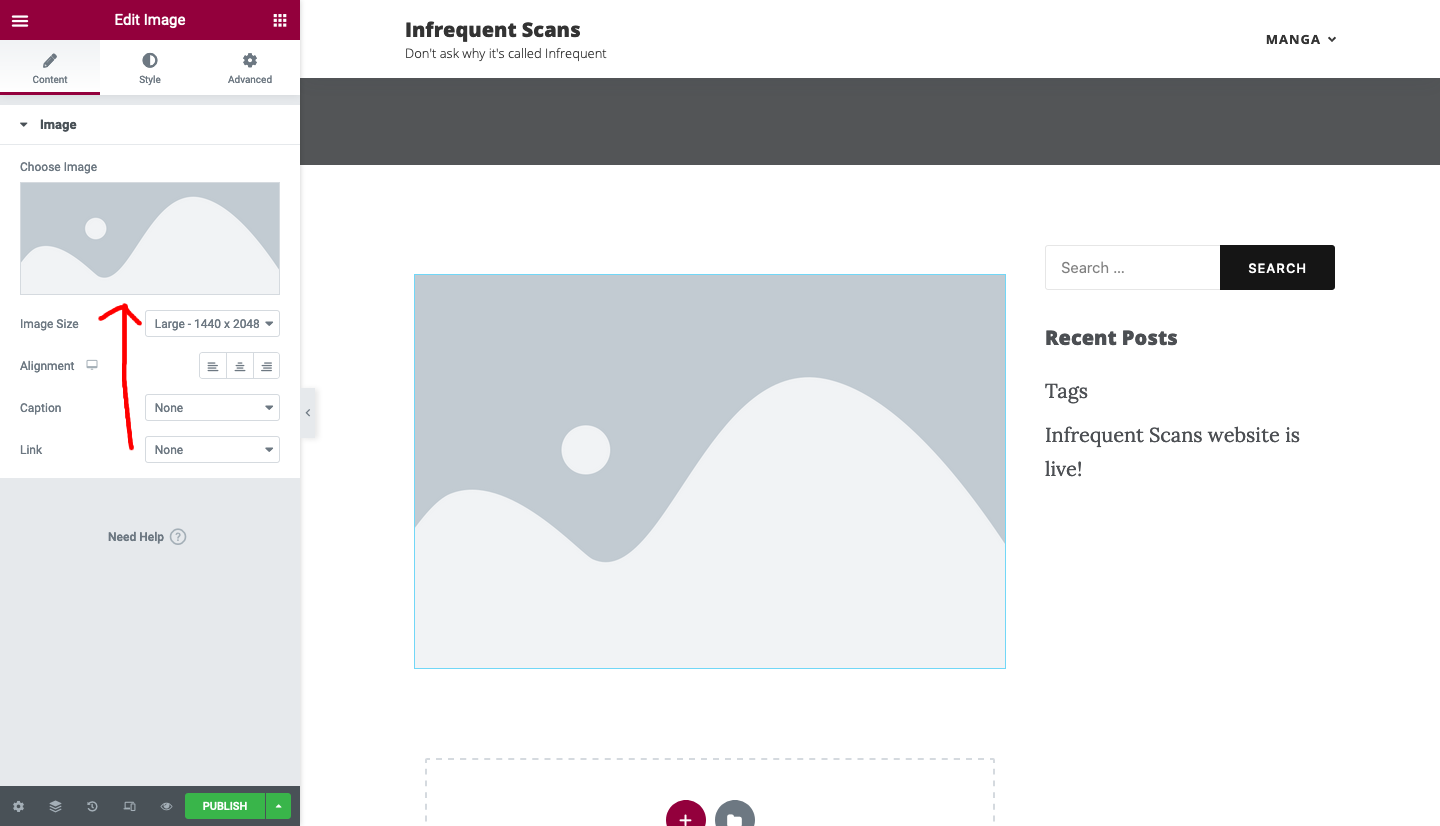
STEP #4 This will be what you will get. Click on the “Choose Image” as shown by the red arrow.
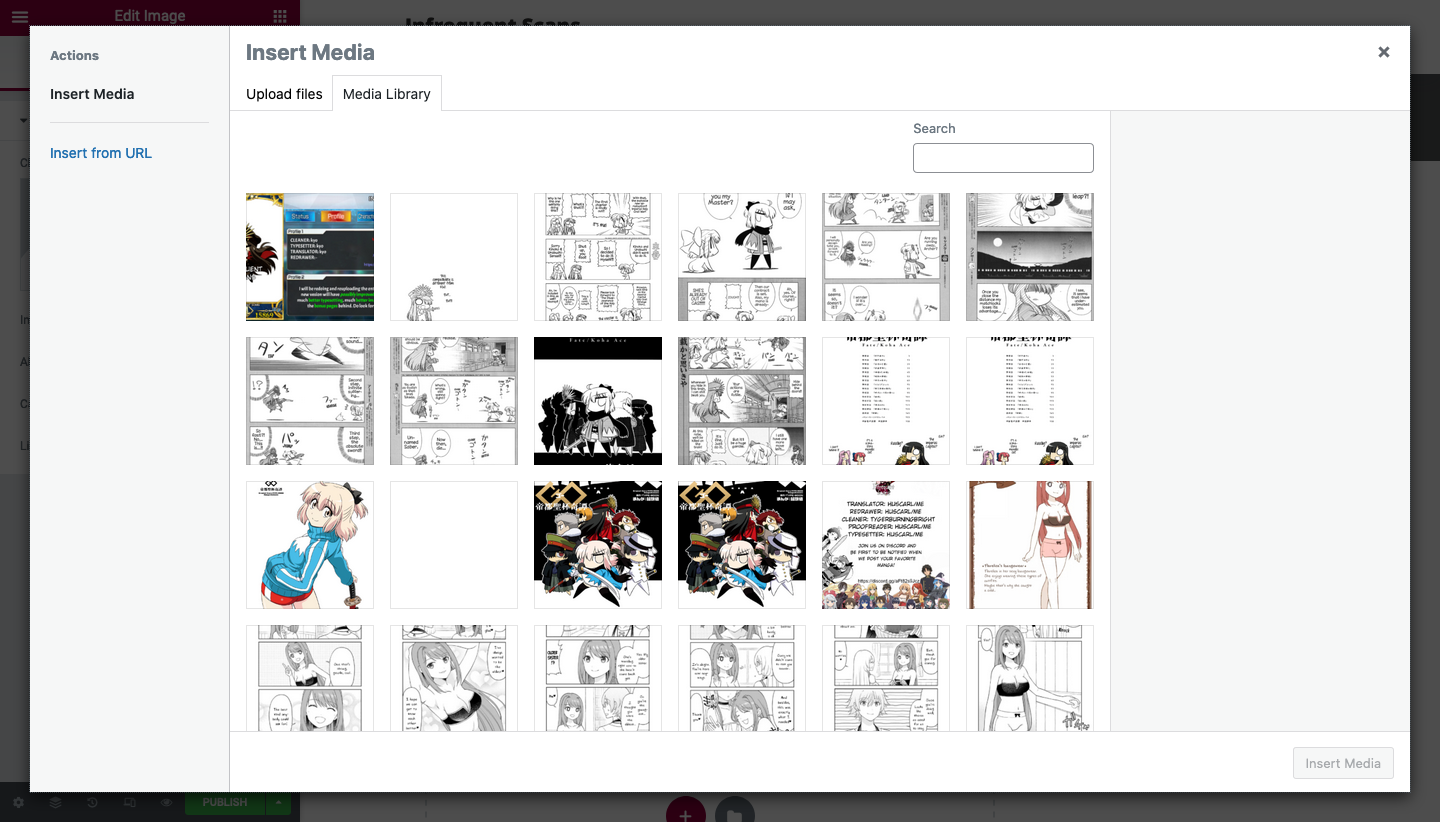
Step #5 This window will open. Proceed to drag and drop ONE chapter page into this window.

STEP #6 The image should load like this. Wait until the bar is full.
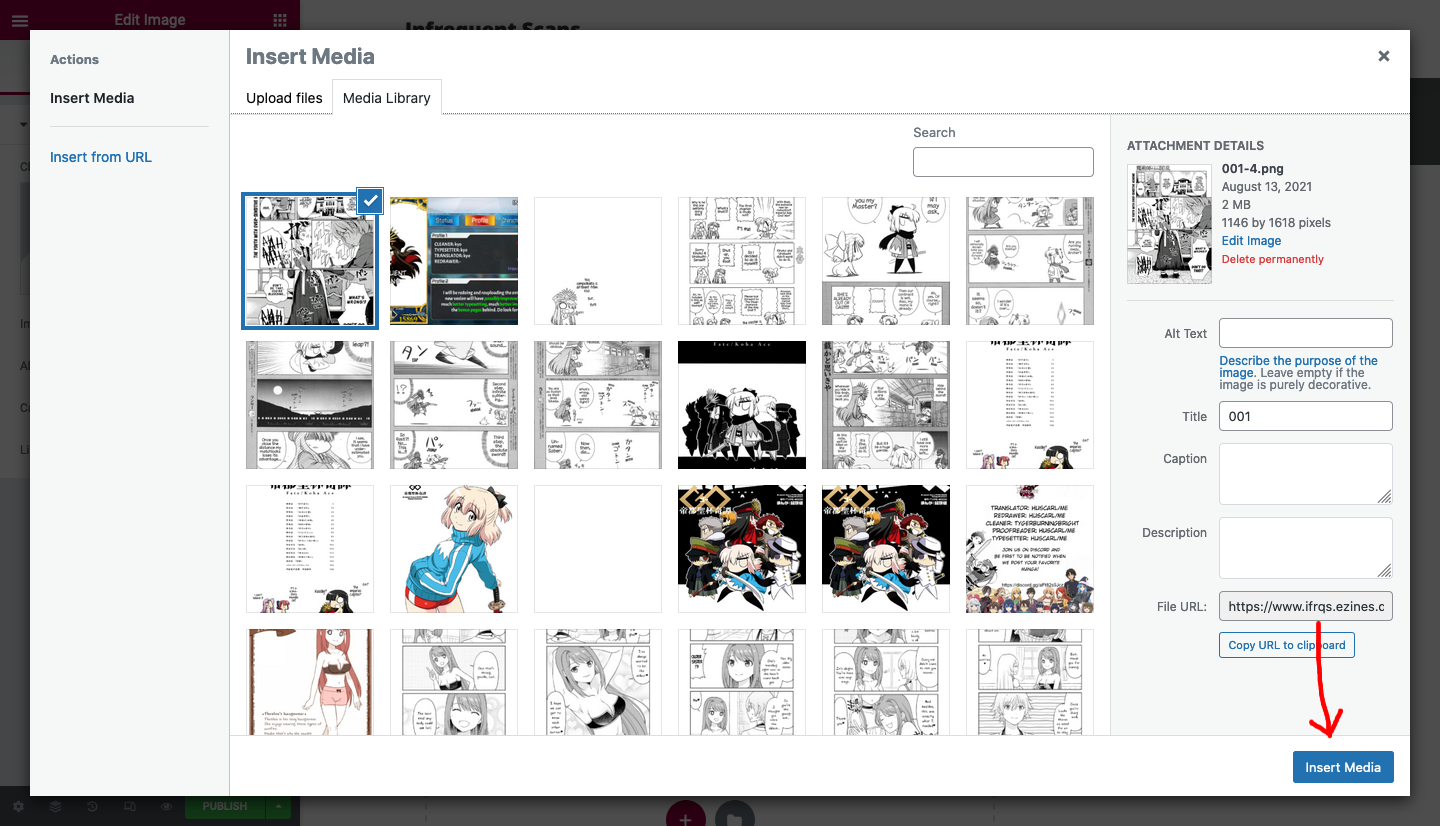
STEP #7 Once done, click on “Insert Media” at the bottom right of the corner. Your image should load in a few seconds. Repeat steps 4-7 until every page has been uploaded. Remember to save periodically.
(There are some occasions where Elementor will freeze and you will be unable to click on “Insert Media” or any other options. You will have to refresh and re-upload the pages that were not already saved.)
STEP #8 Once you’re finish, just click “Publish” on the bottom left corner and copy the link.
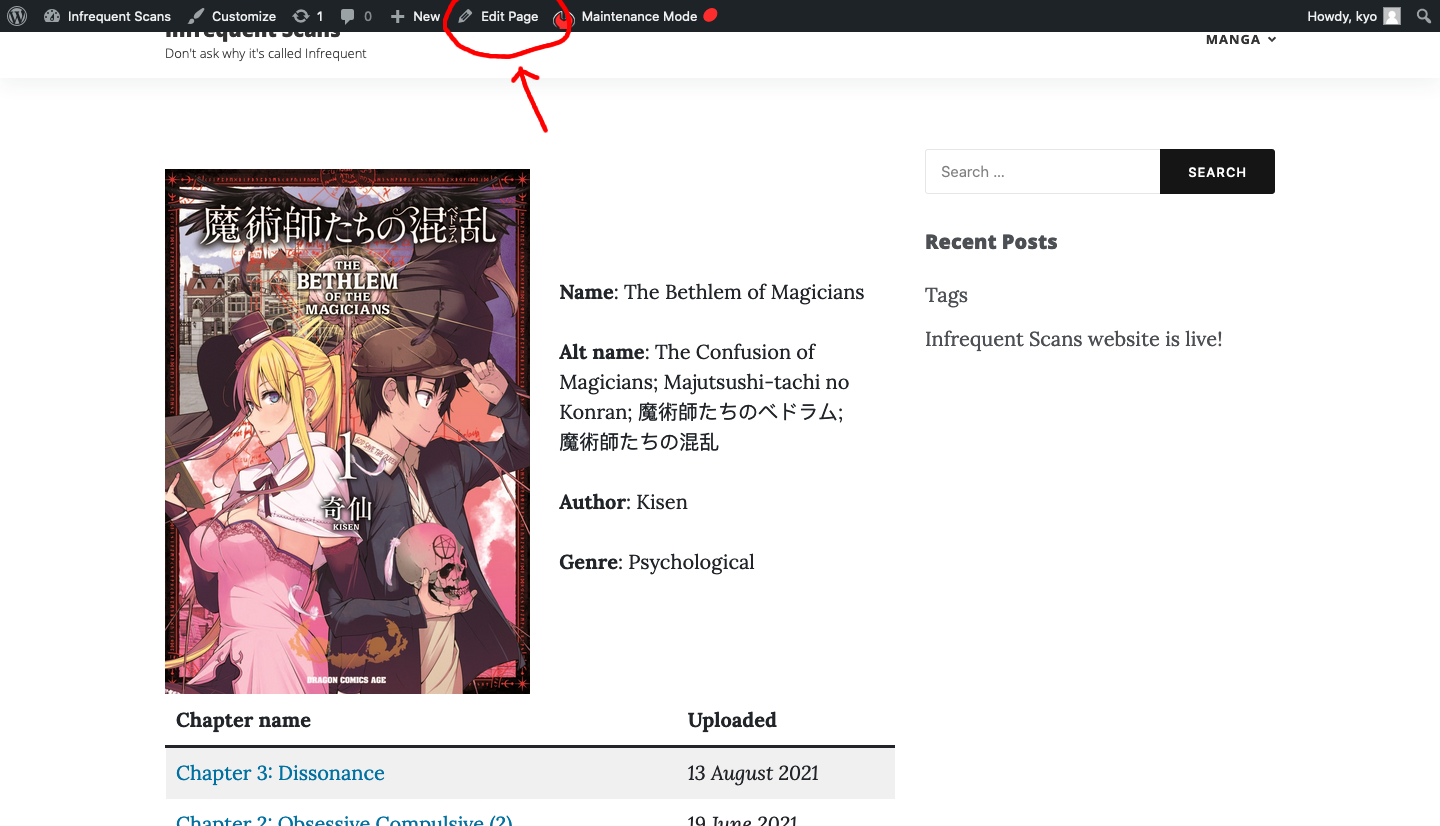
Step #9 Proceed to the respective manga page. Click on the “Edit Page” at the top of the screen.

STEP #10 Click on any row on the table below. Click on the “Table” icon in the red circle.
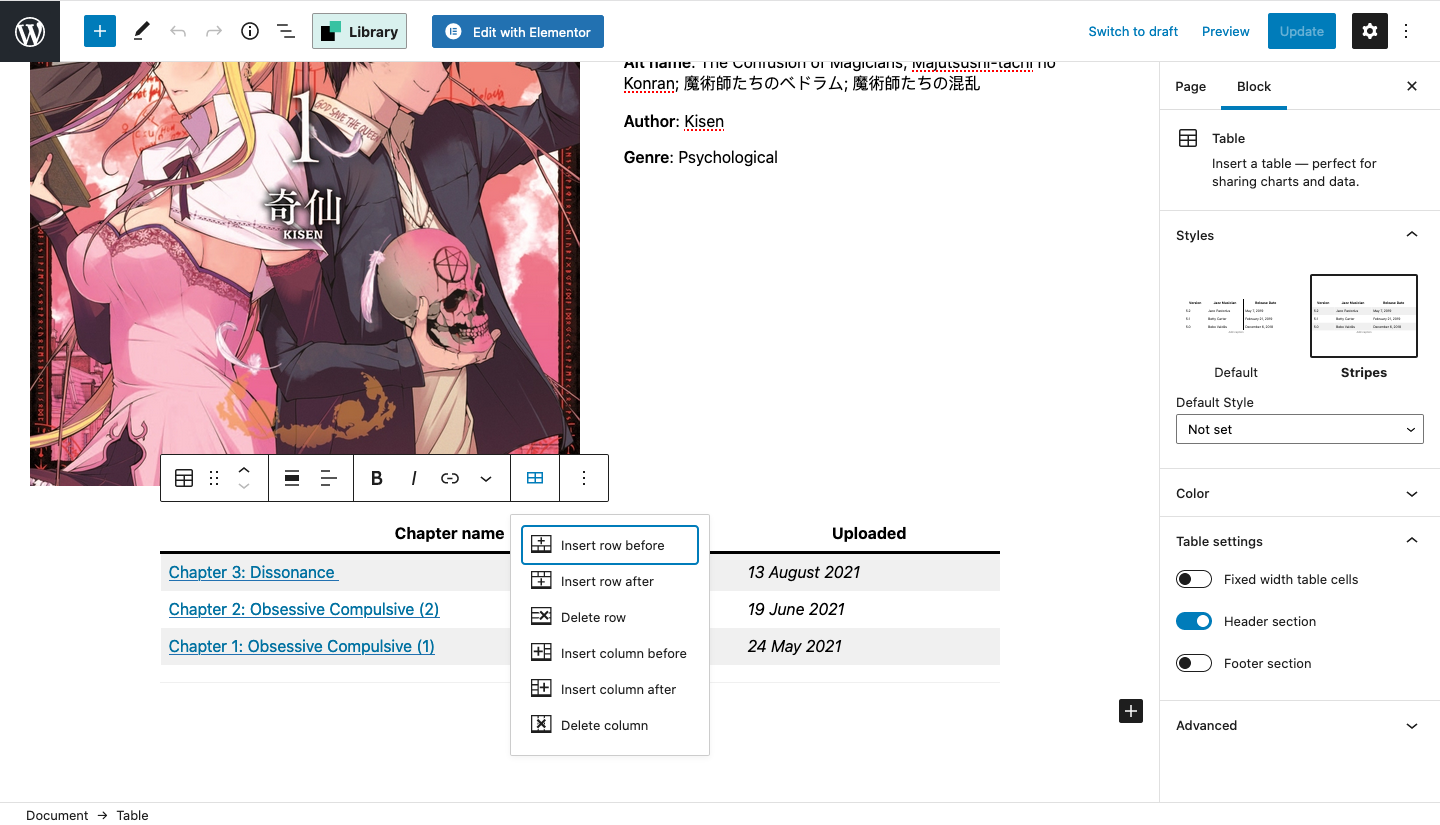
Step #11 Select “Insert row before”.

Step #12 A new row should pop put. Proceed to type out chapter name, as well as the date that it was uploaded. If you have already copied the link to the chapter, just highlight the chapter name and paste it (ctrl c + ctrl v). The chapter name should turn blue once the link is added.
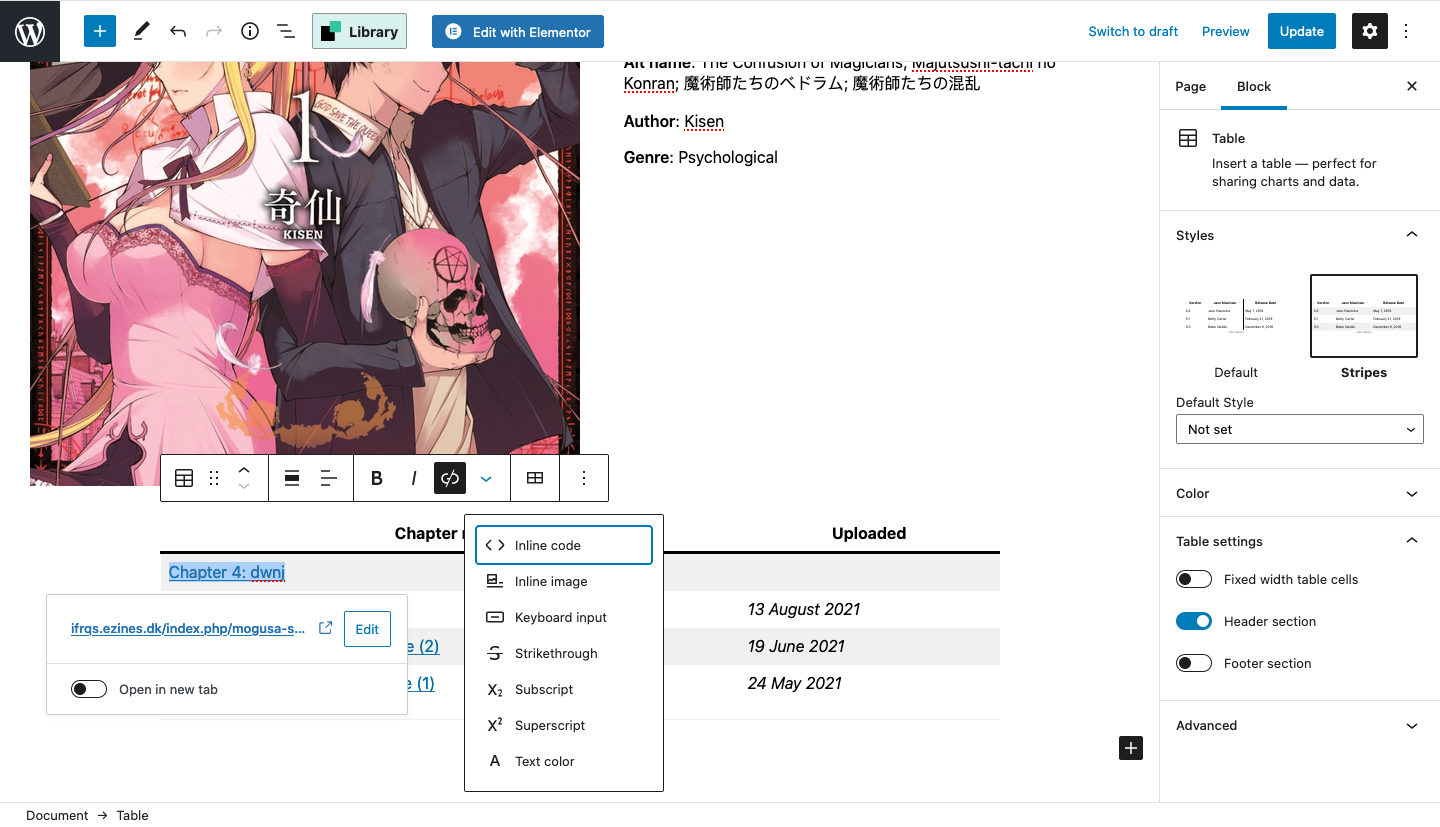
Step #13 Once the link is added, highlight the chapter name again and click on the “More” option (the down facing arrow). Select text colour.
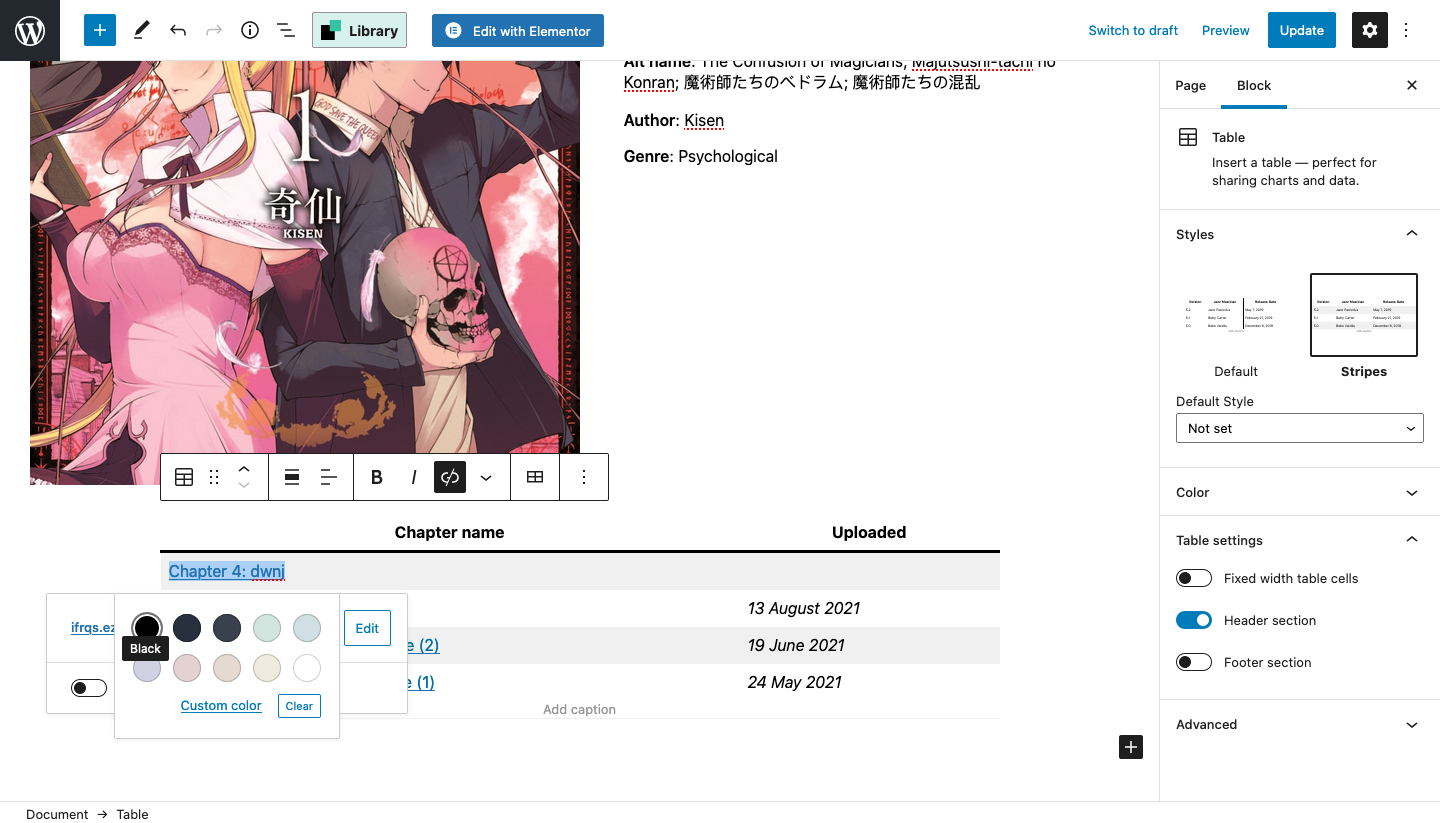
Step #14 A selection of colours will appear. Select “Custom Colour” and choose the colour that has been selected already by default if you don’t change anything (i.e. don’t change the custom colour, it should be at the right one already. For reference, the colour should be #0071a1. Highlight the date uploaded and change it into italics.
As of Feb 2022, Step #14 can no longer be used. Follow the updated instructions on color.
Step #15 Remember to click “Update” and then you’re done with the basics!
Adding Next/Prev Chapter buttons (It would be best if you could do this yourself, but if you can’t just tell me)
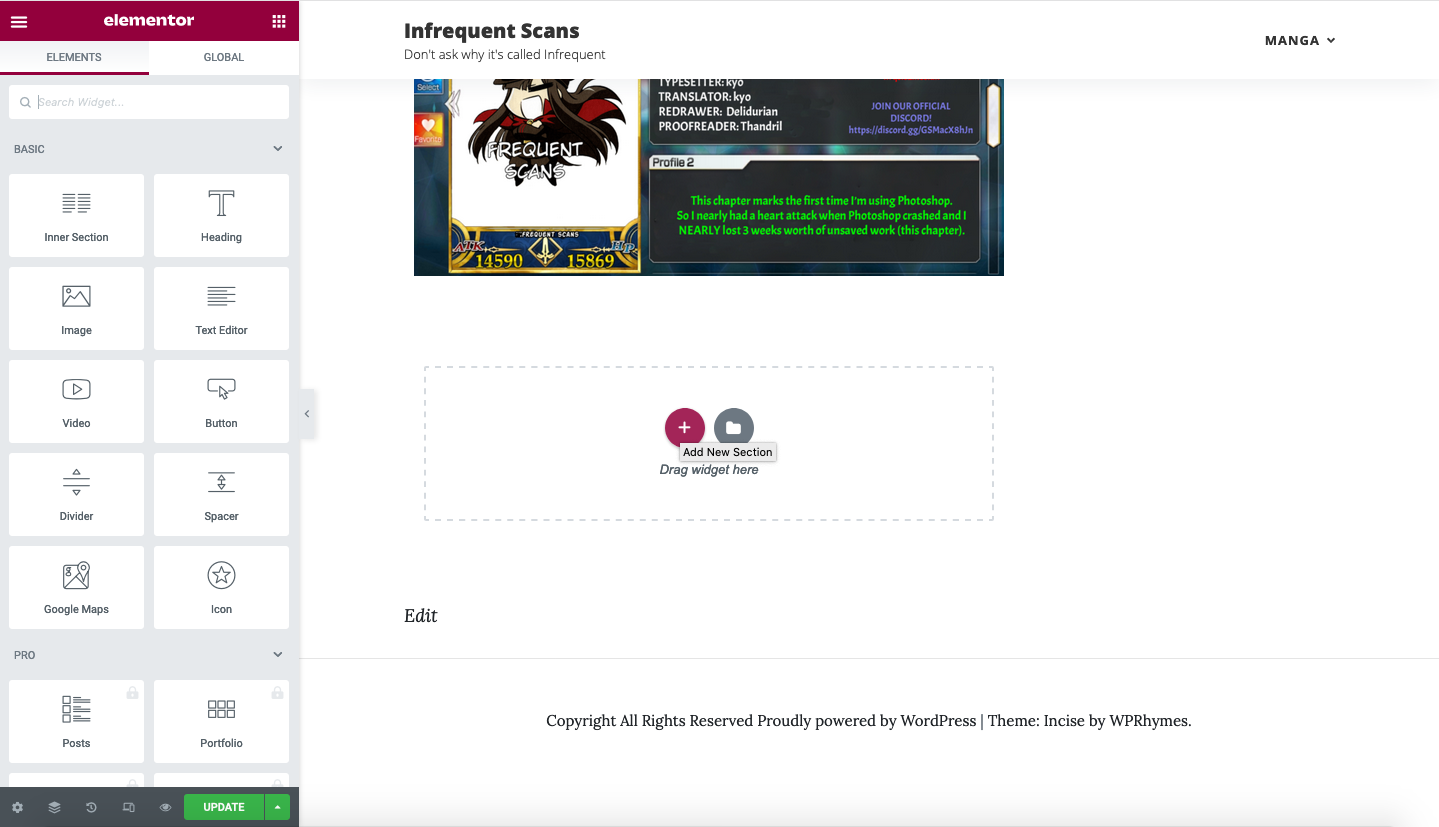
STEP #1 Once you’re done with uploading all the pages, scroll down to the bottom. The dotted rectangle should still be there. Click on the plus icon that says “Add New Section”.
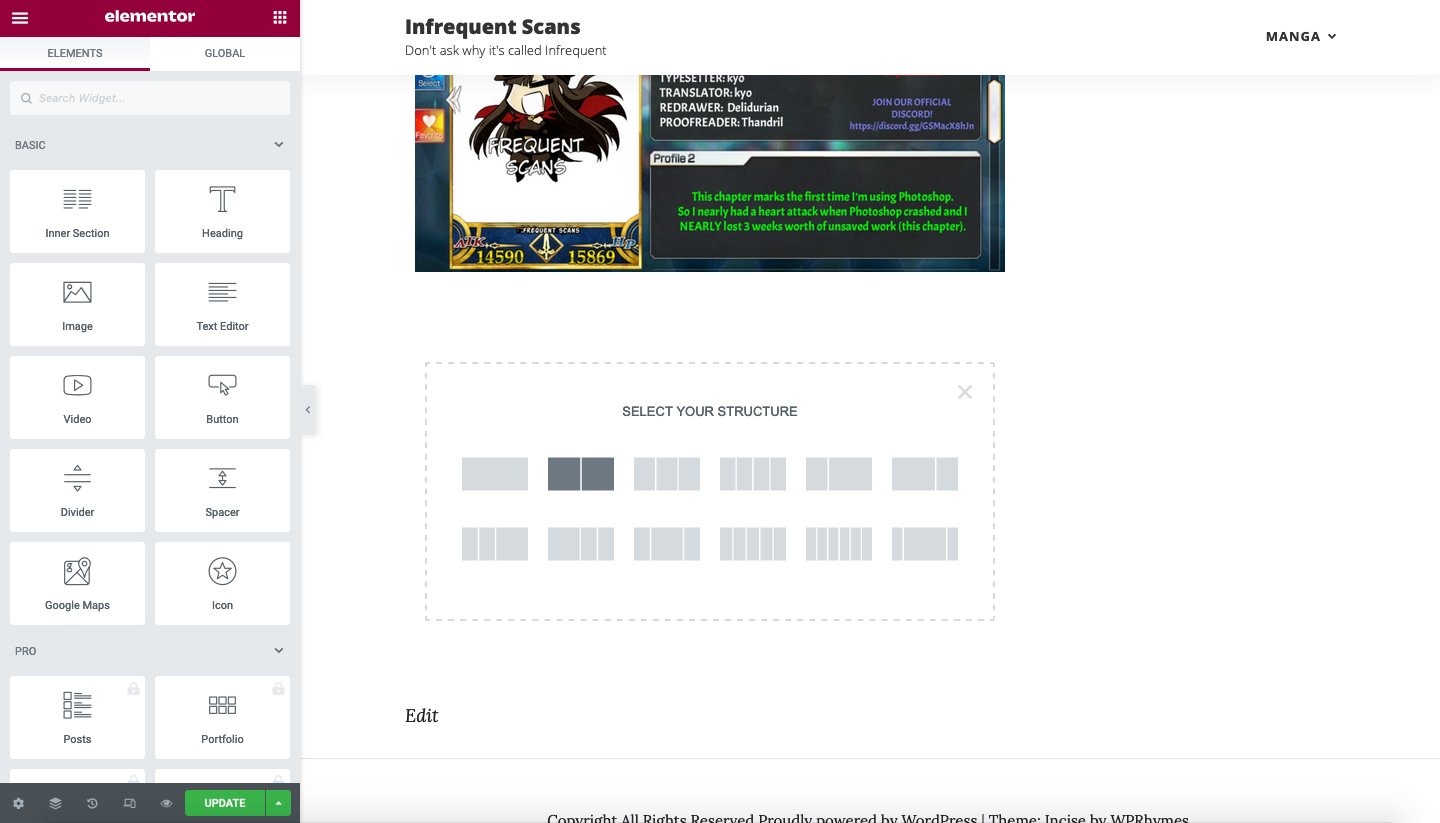
Step #2 Select the 2nd option (the one where the rectangle is divided into 2).
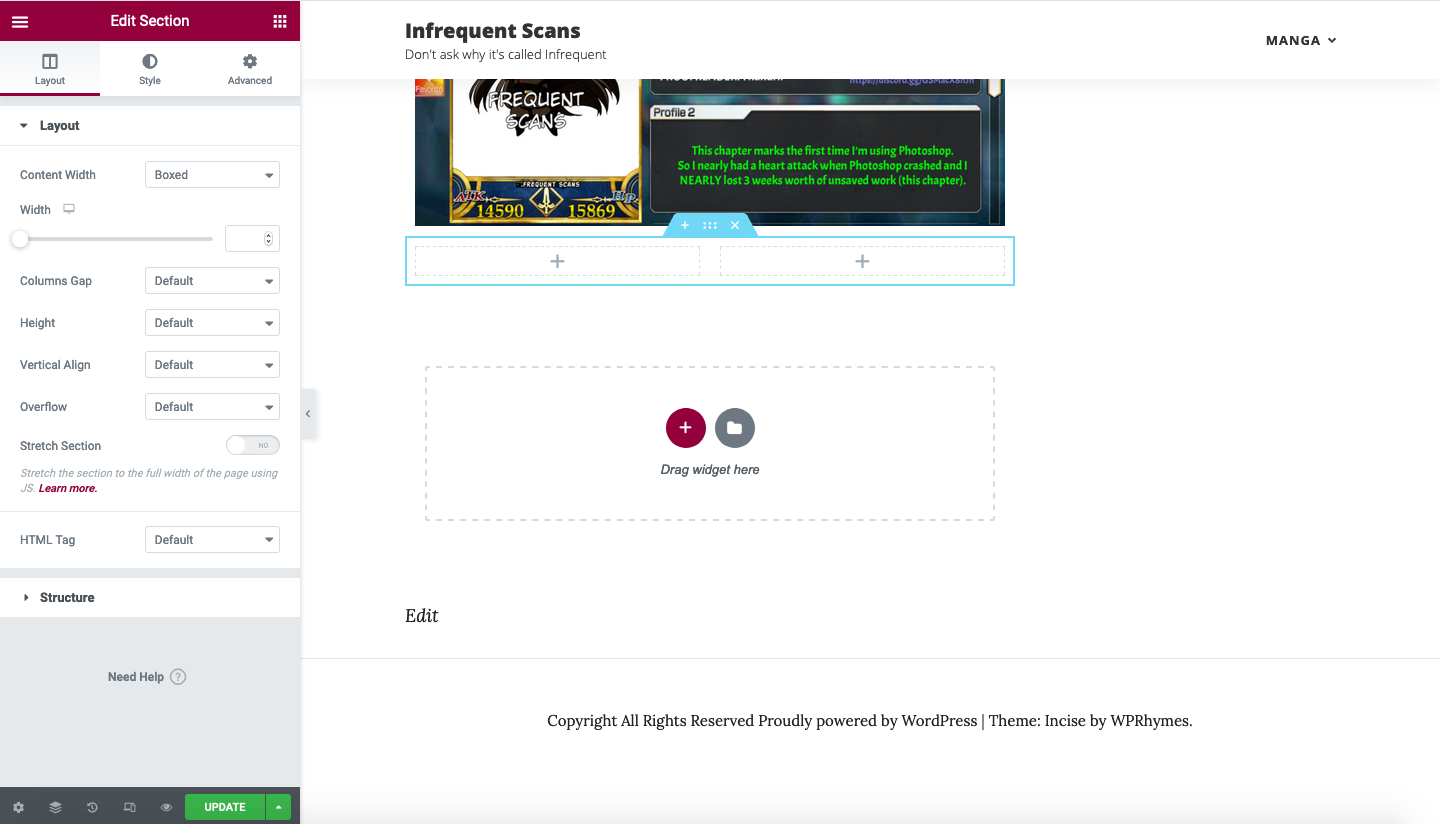
STEP #3 The block (the rectangle) will be split into half. Click on the 9 dots next to the “Edit Section” on the top left corner.
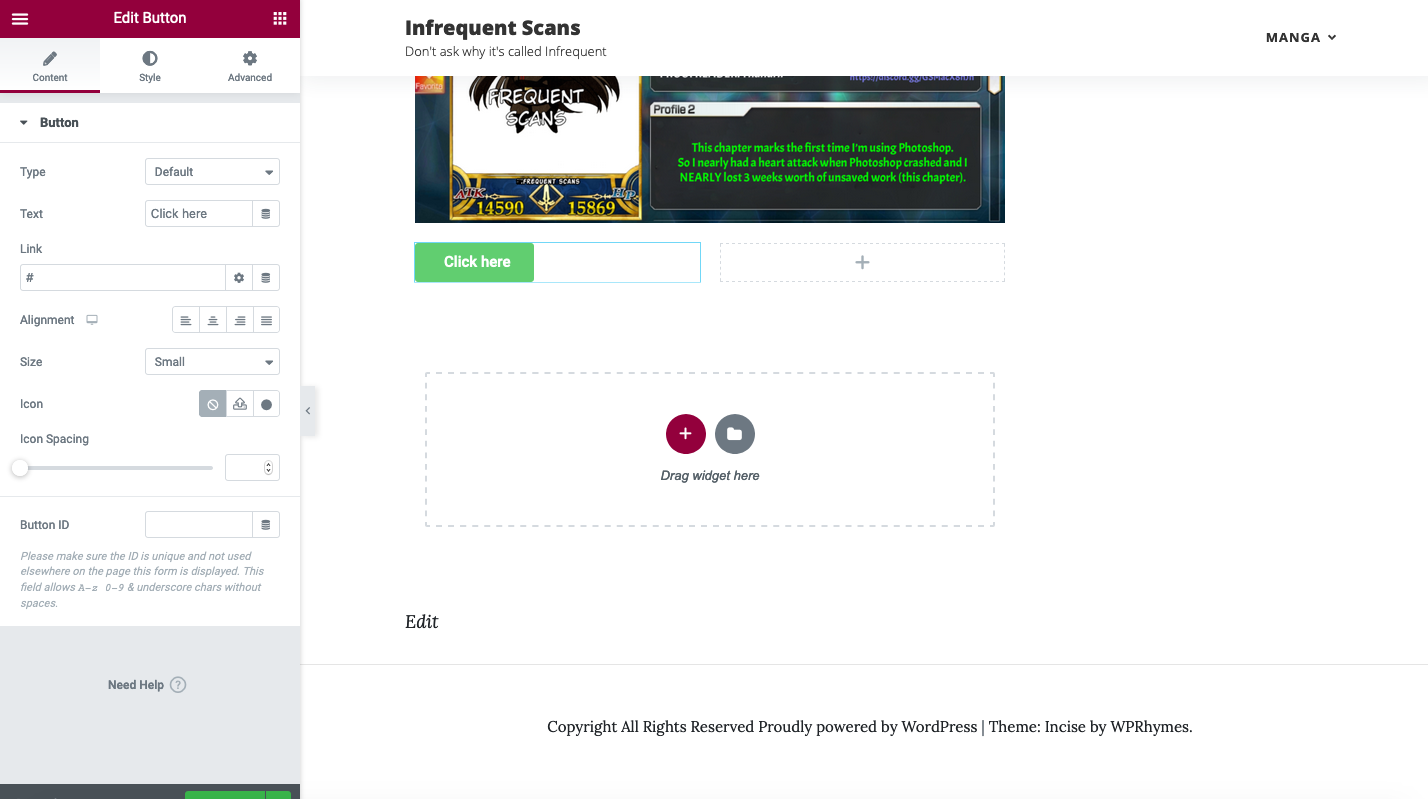
Step #4 Drag the “Button” widget into the left half of the rectangle. Change the text to “Prev Chapter” Insert the link of the previous chapter as well.
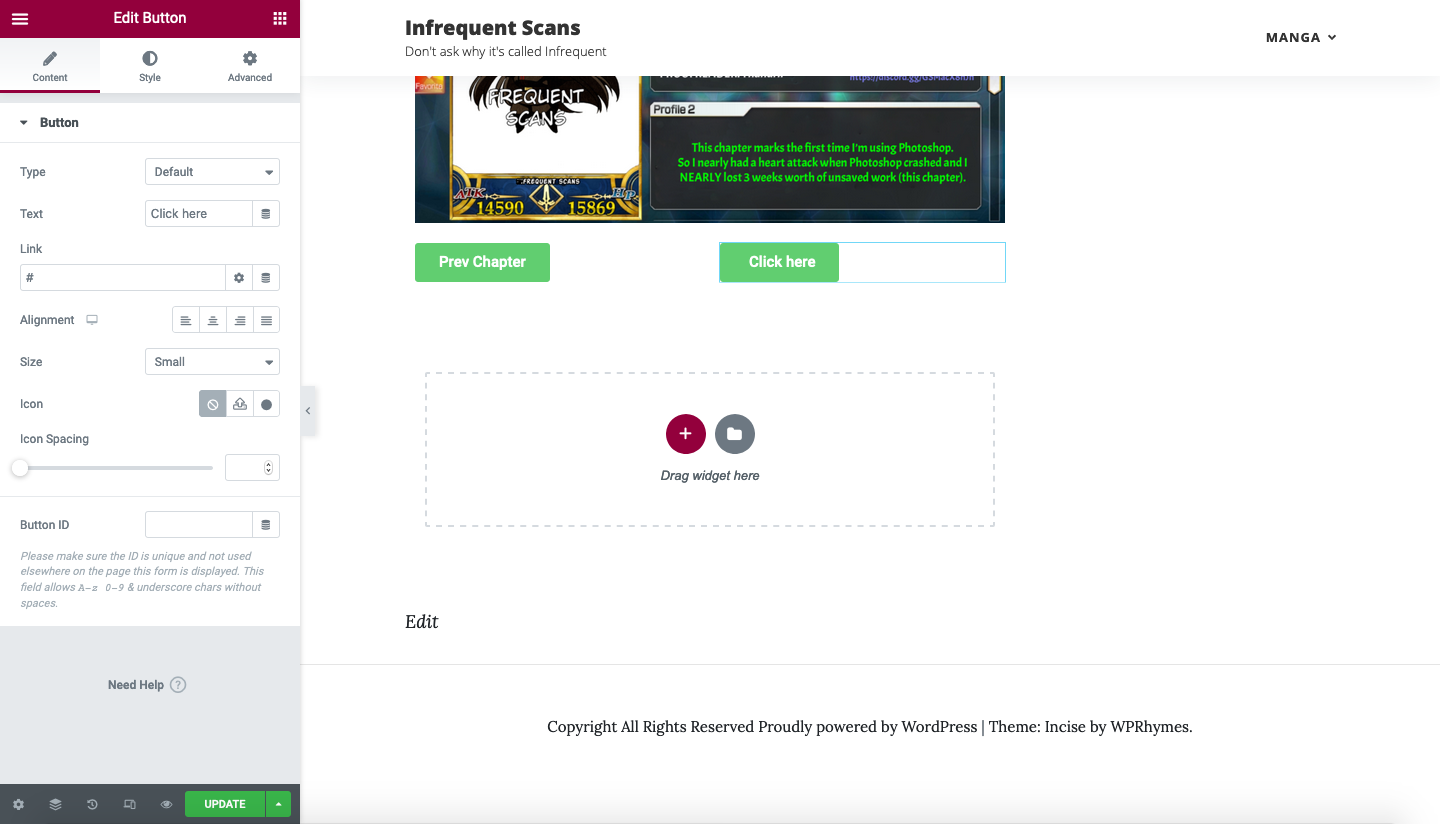
STEP #5 Remember to align (under Link) the left and right buttons to the left and right side respectively. This is to ensure the buttons are in the right position for both desktop and mobile.
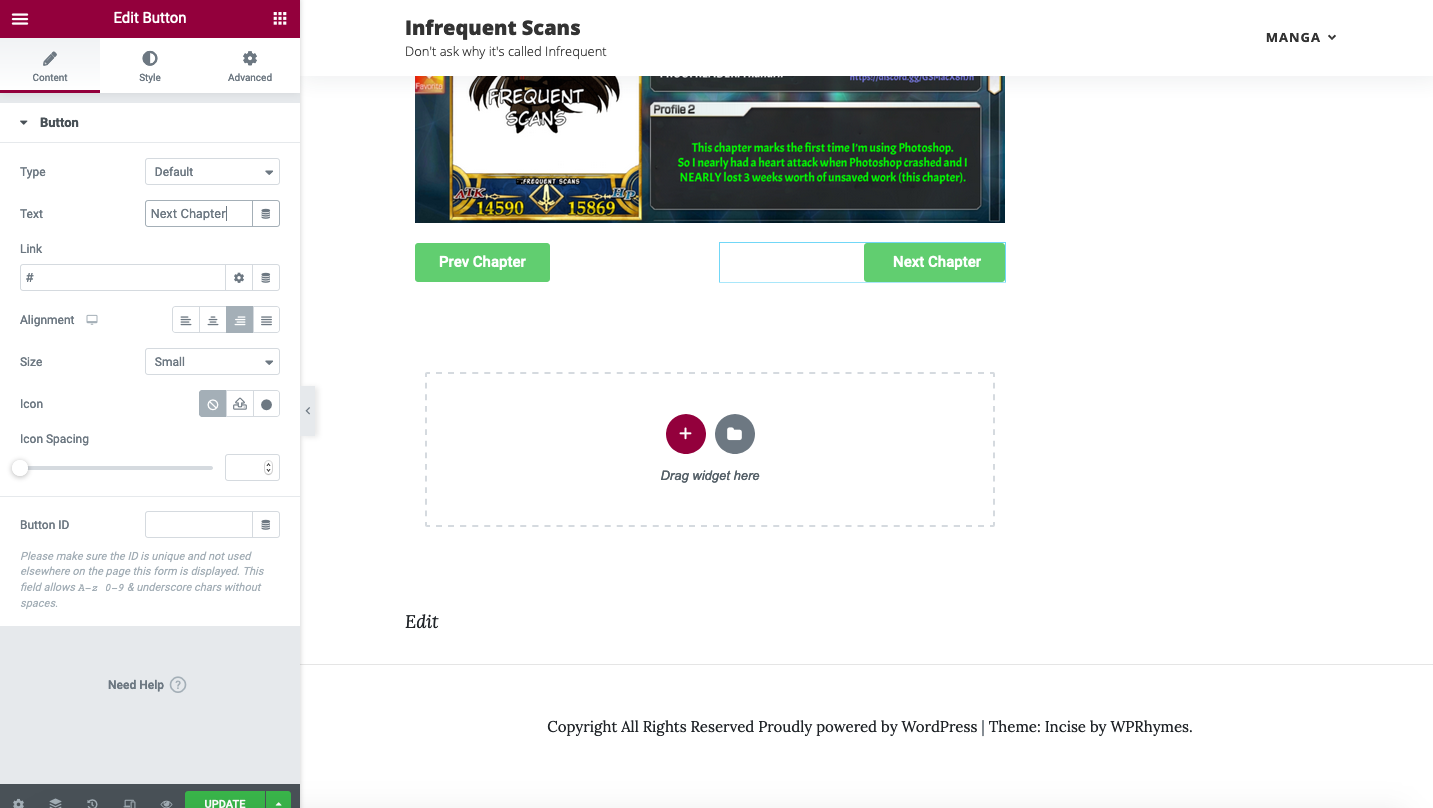
STEP #6 The finished product should look like that. (Remember to insert link).
**IMPORTANT NOTE to clear the “#” in the box first, if not the button will not work.**
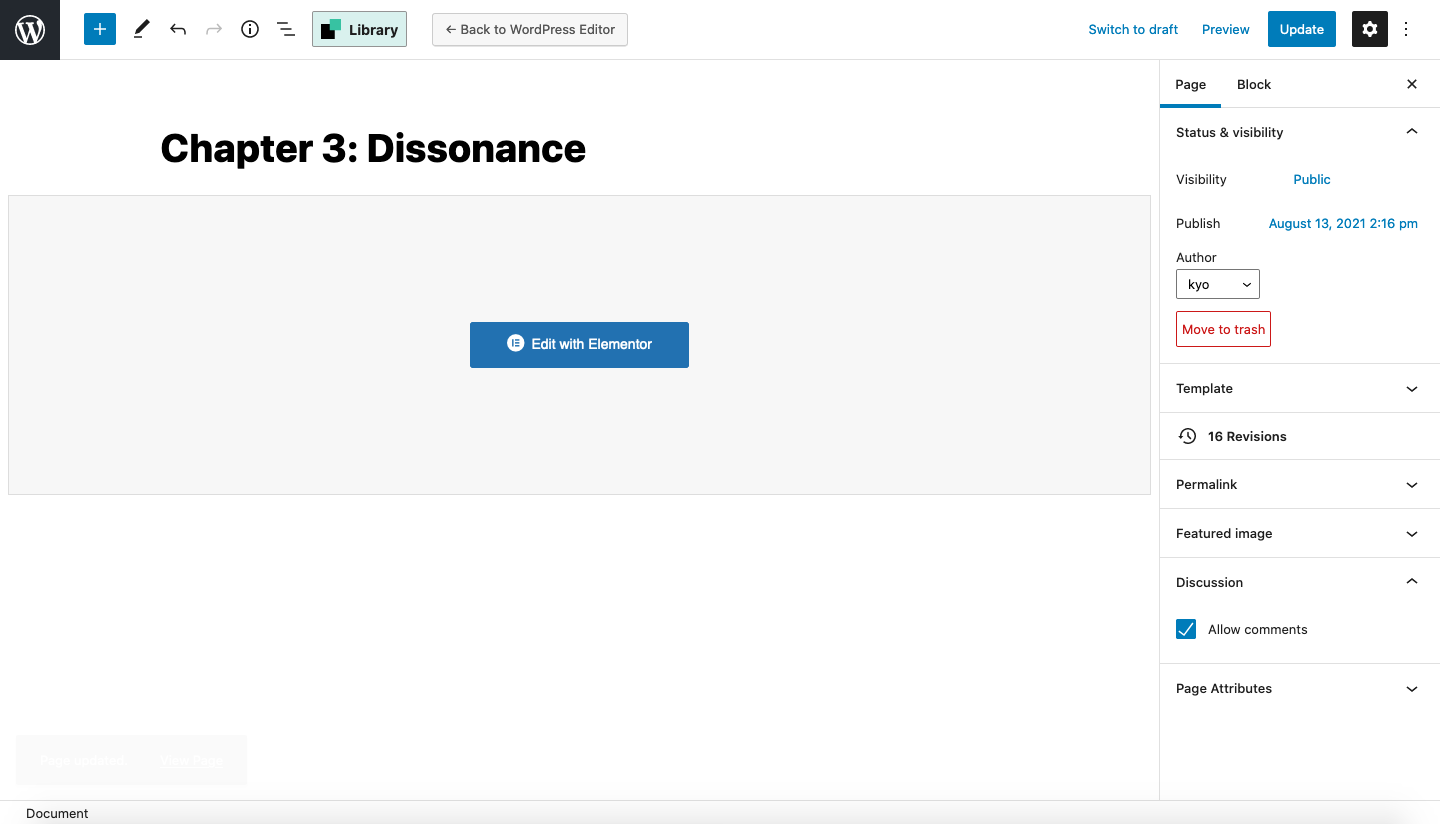
STEP #7 Optional, but preferred. Go to WordPress editor. You can do so either performing this step before clicking on “Edit with Elementor” at the start, or by selecting “Edit with WordPress” instead of “Edit with Elementor” if you have already published the page. Under the list at the right, go to “Discussion” and click on “Allow comments”.
Updating the front page (Just for reference, I can help do this one when I’m free)
Unlike other big manga websites, we have no idea how to automate this process. As such, we have to do everything manually. Follow the steps in the video.
WARNING: There is a grey box above the carousell (the moving list of manga) at the top of the screen. UNDER NO CIRCUMSTANCES SHOULD YOU EDIT OR DELETE THE THING.
Comments
There is a comment tab where we can choose whether or not to approve comments. There are A LOT of spam comments so either ignore them or delete them. By rule of thumb, only those whose username is “anonymous” should be accepted. Read the comments first to make sure it is not offensive/irrelevant to the chapter.
New Series
Adding a new series to the page is really long, so here’s how to do it. The guide for this part is with the assumption that you are able to do the above steps for uploading a chapter. You’ll have to change the manga page, front page and genre page.
Manga page
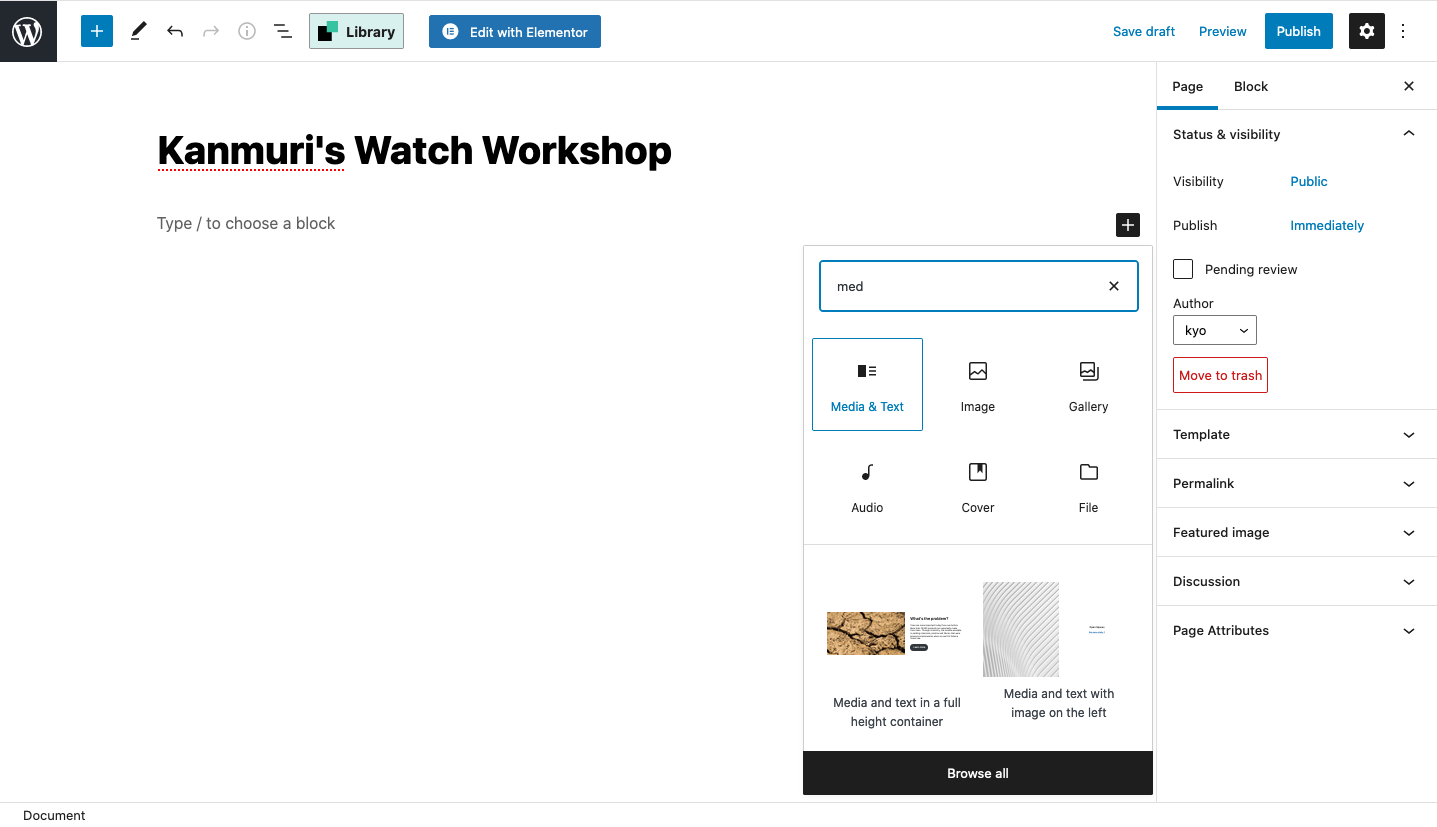
Step #1 Add new page. Proceed to fill in title. Then, add the “Media & Text” block.
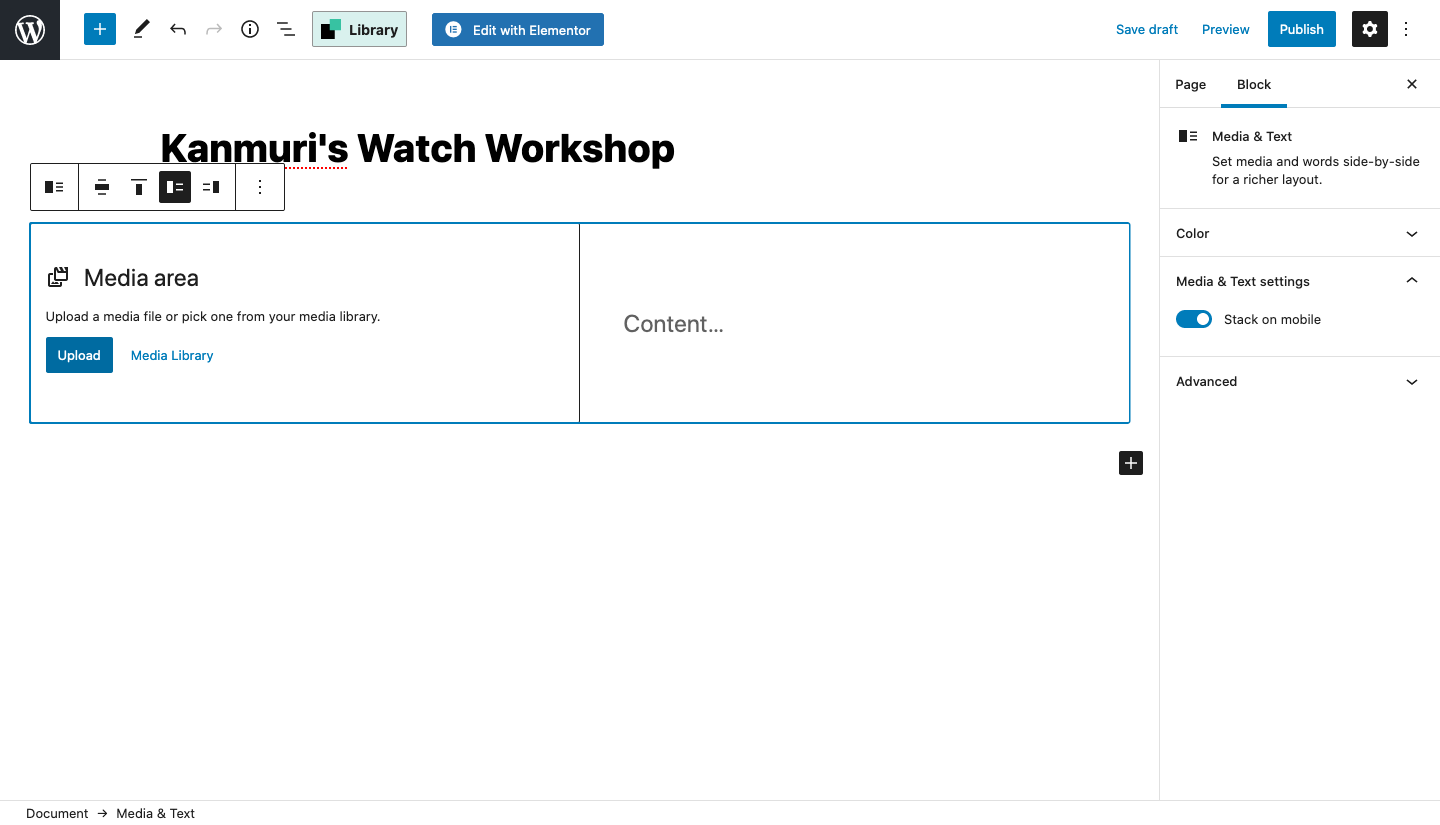
Step #2 Here, you will be able to have both image and text side-by-side (for desktop view). Click on upload.
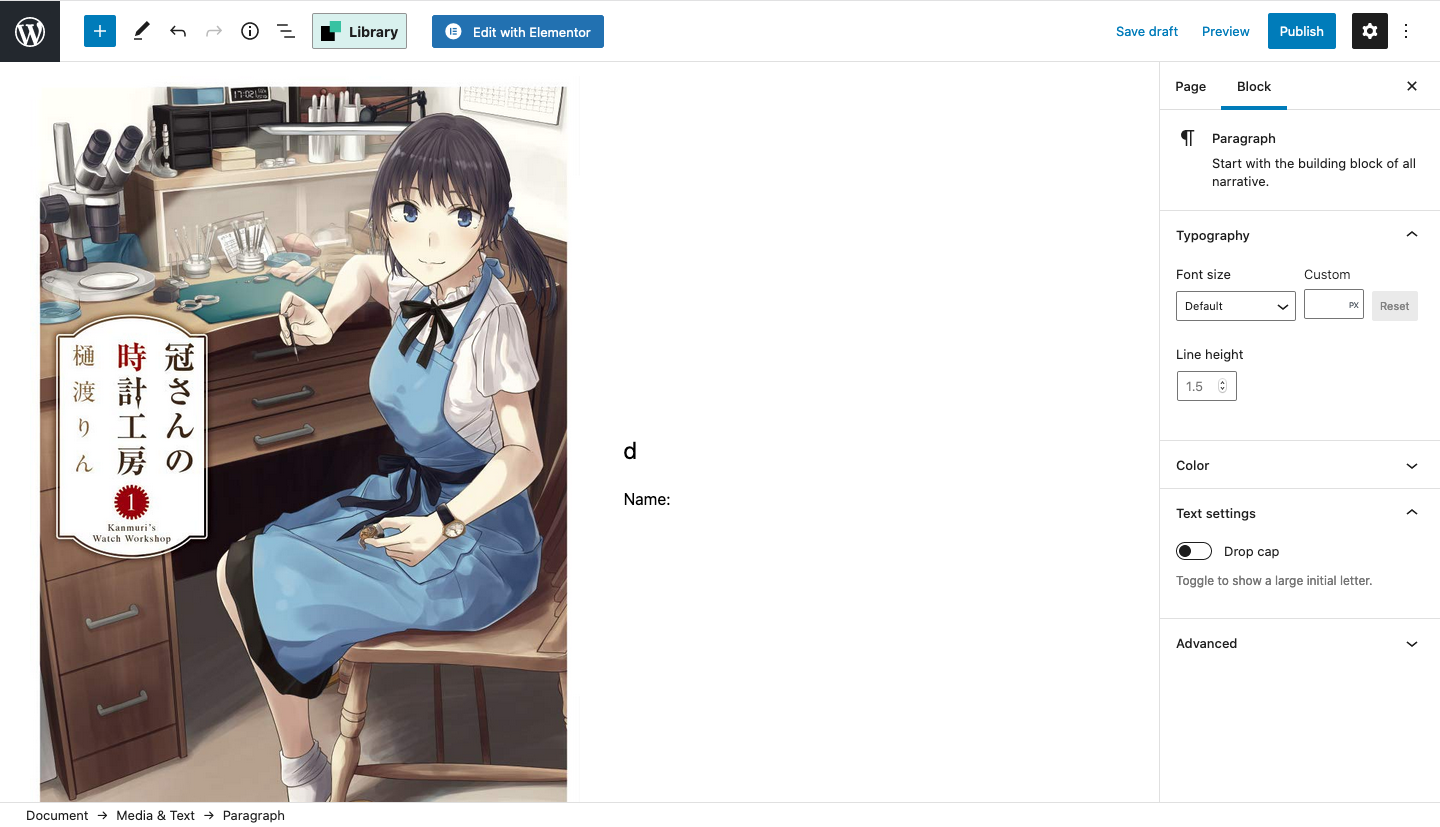
Step #3 To make the other steps less tedious, name the cover image as “Cover” on your computer. Proceed to upload in the cover image to the media area. Please make sure it’s of good quality. If not, try to upscale it here and hopefully the image is clearer. Alternatively, try to find another image.
Afterwards, select the text portion. The first line will be in a different size, so just randomly type in something (eg “d”) and move to next line (by pressing “enter”) and type “Name:”. Delete the 1st line with the “d”, while ensuring the 2nd line is still in the smaller size. If this is too confusing, follow the video instead.
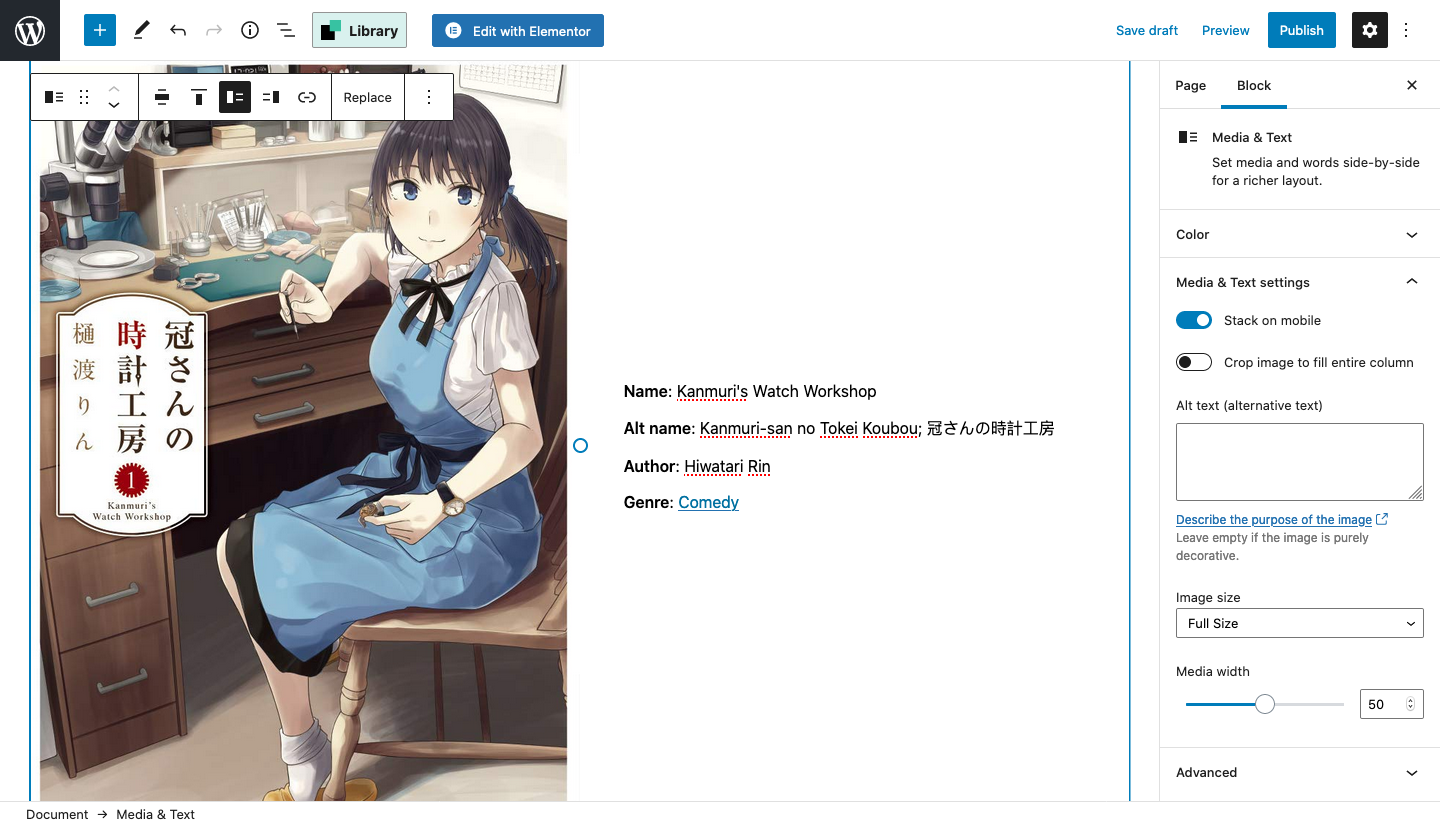
Step #4 Enter the next few lines as seen above. For information regarding alt name/genre, just go to mangaupdates or the relevant manga websites to obtain the information. For alt name, the order should be 1) English, 2) Romanji 3) Kanji (as applicable). Some pages do not follow this order (as I forgot about it), but as far as possible please try to follow it.
Bold the necessary keywords. For genre, find the relevant genre page, and insert the link into the keyword (similar to adding chapter page to the manga page). Remember to make all link words in blue (#0071a1).
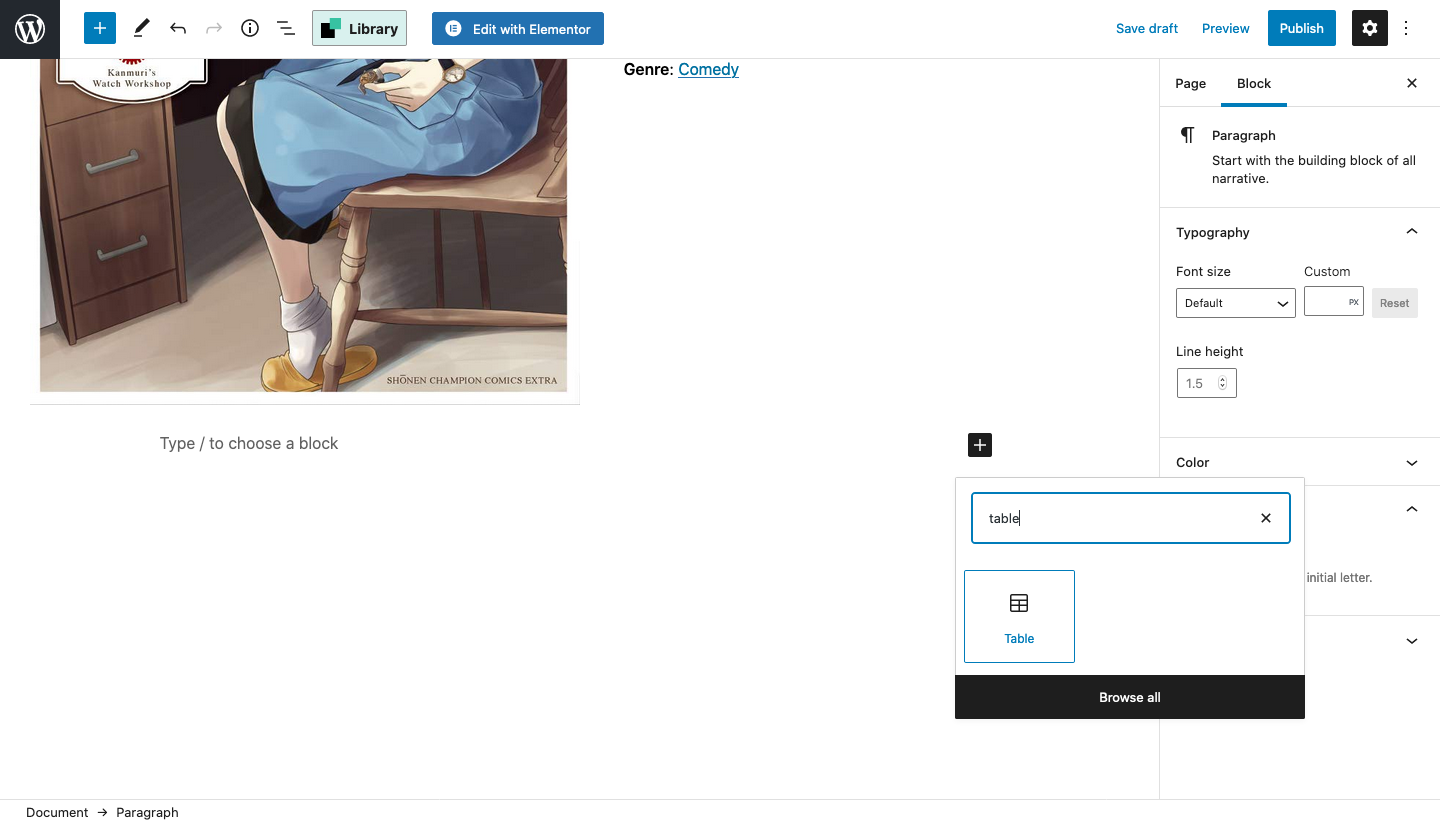
Step #5 Add the “table” block below. Make sure the parameters are 2×2 and then select “create table”.
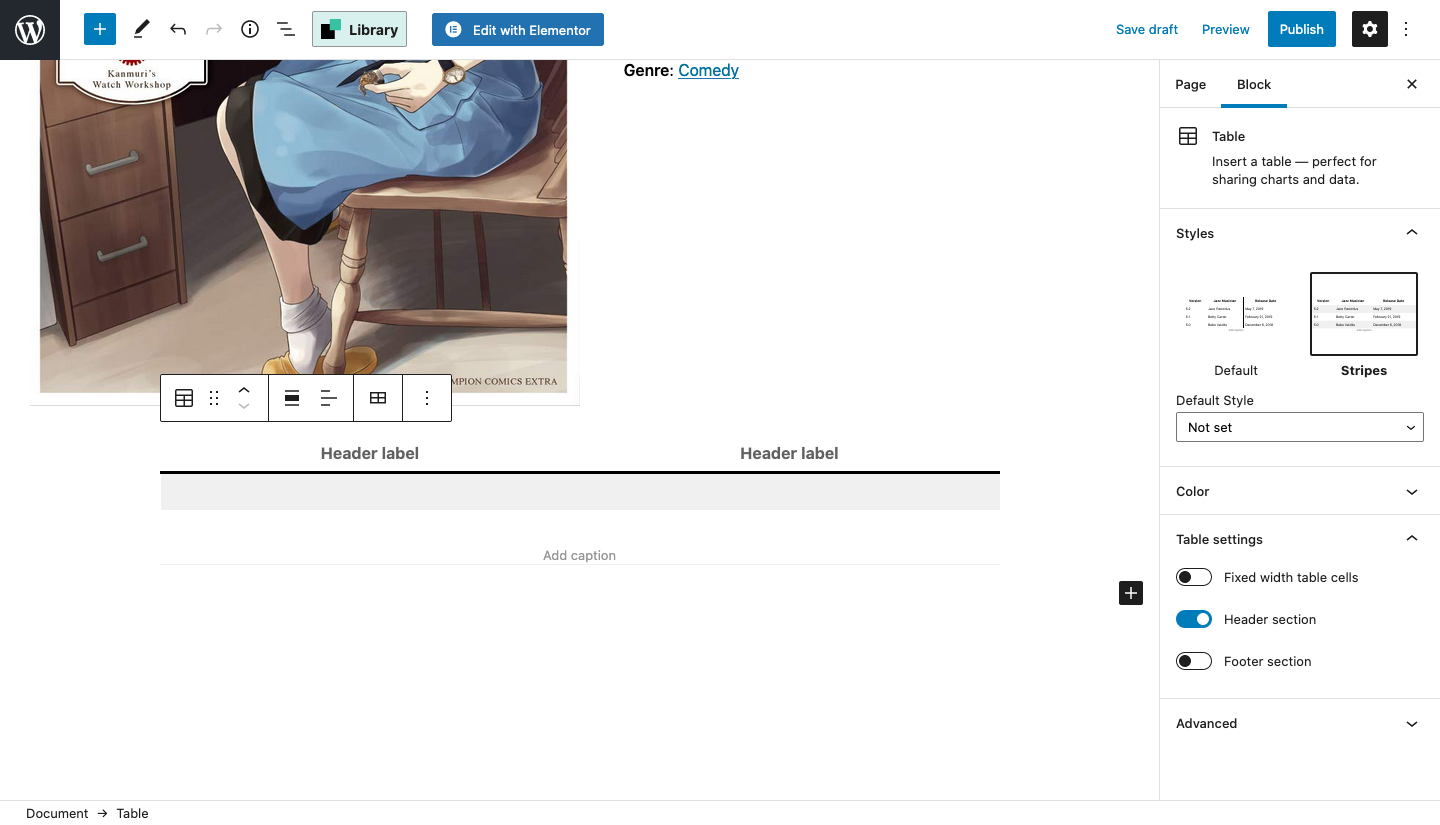
Step #6 On the right column, change “default” to “stripes. Activate the “Header section” under table settings.

Step #7 The first row should be “Chapter name” and the 2nd, “Uploaded”. Fill in the relevant info. For the chapters not done by us, link them to the manga page on mangadex or manganato/mangakakalot. Select publish once you’re done and you have finished creating the manga page! Remember to copy the page link afterwards.
Front page (This part is to be done only when the chapter is ready)
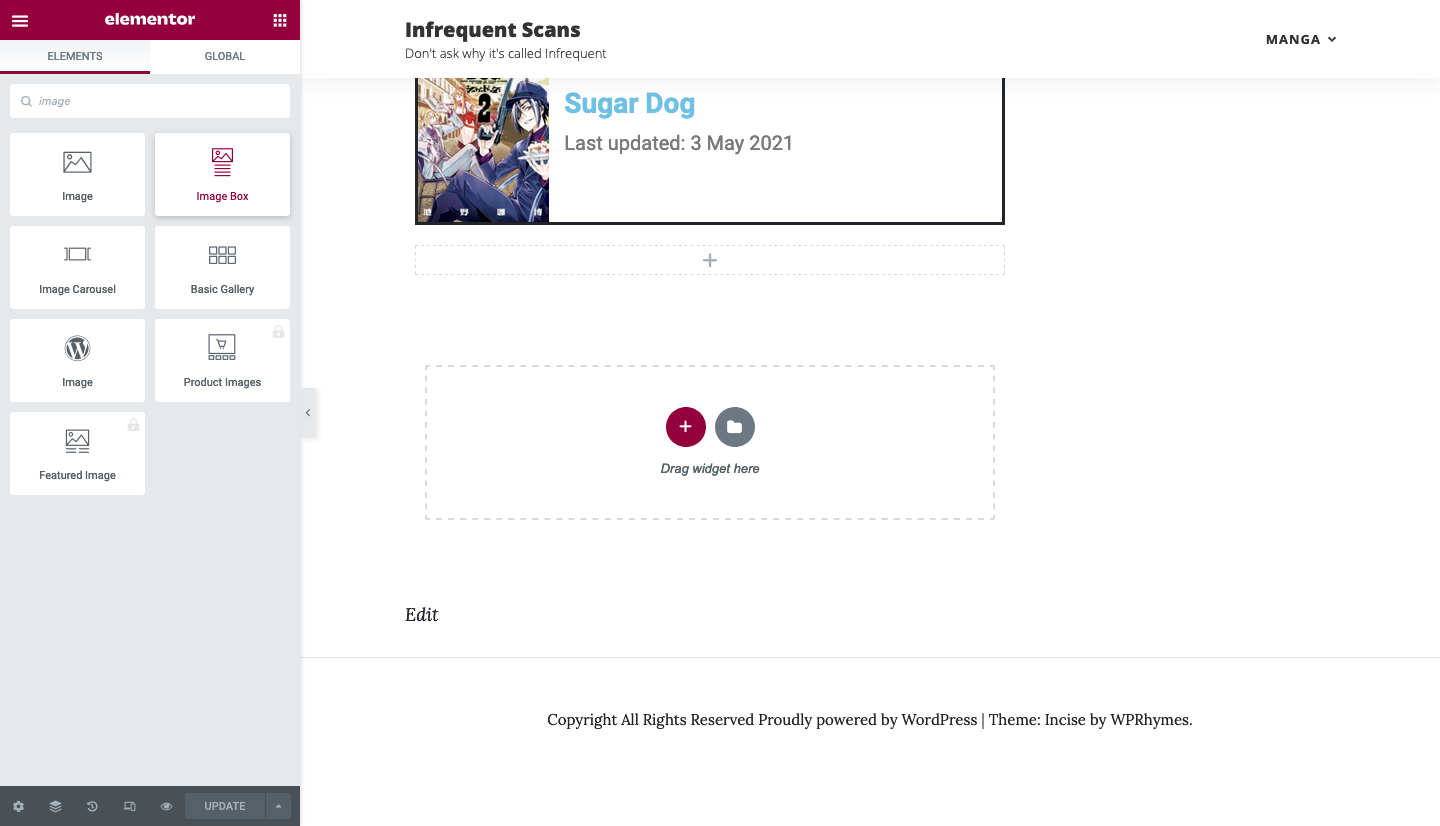
Step #1 Go to the front page. Click “Edit with Elementor” and scroll all th way down. Insert “Image box” block.
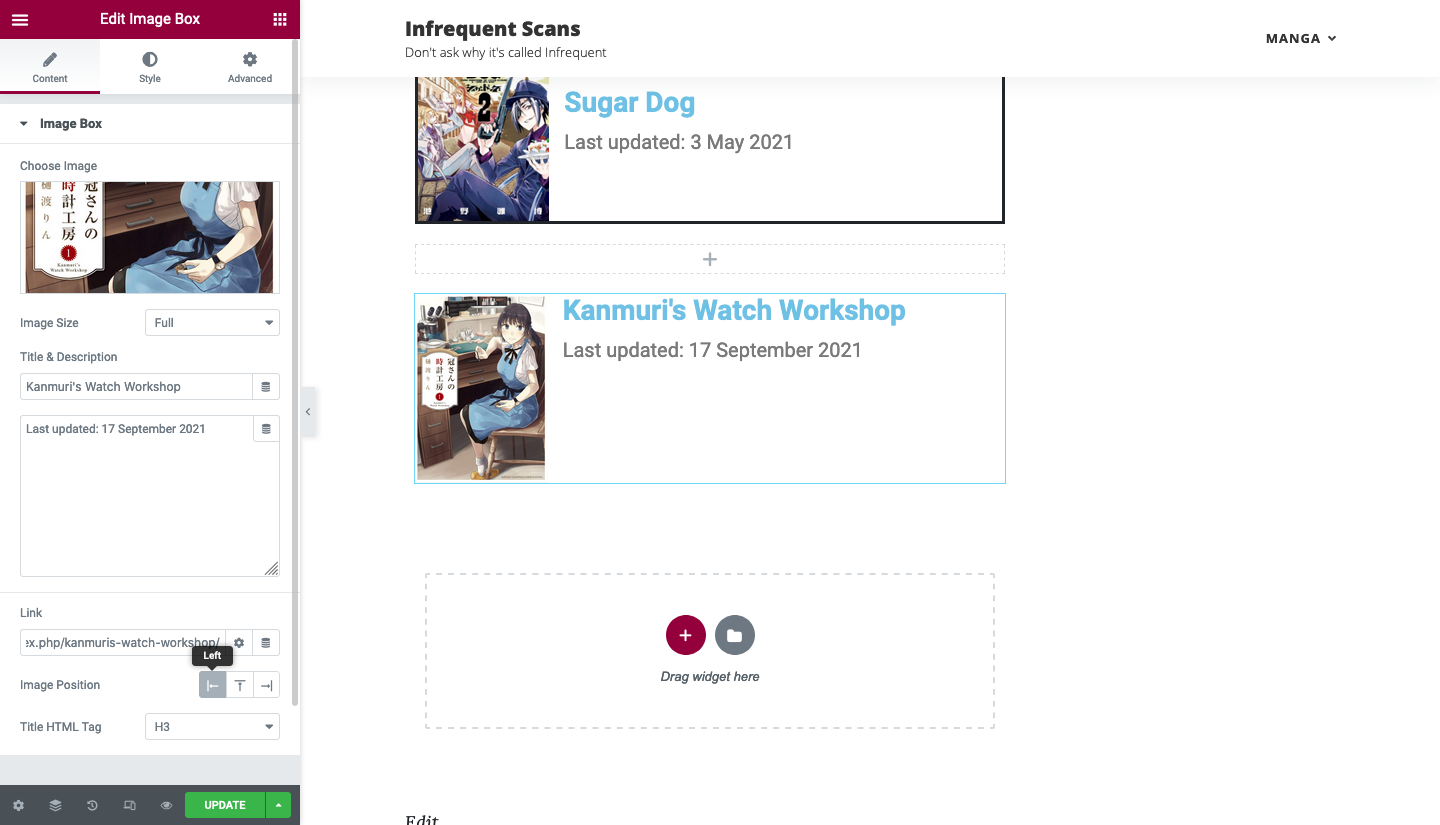
Step #2 Under the “Content” panel, insert the cover image (you can find it easily if you have already named the image “Cover”). The title should be the manga name, and the following box should be “Last updated: [INSERT DATE]”. Paste the manga page link into the link section. Align the Image position to the left.
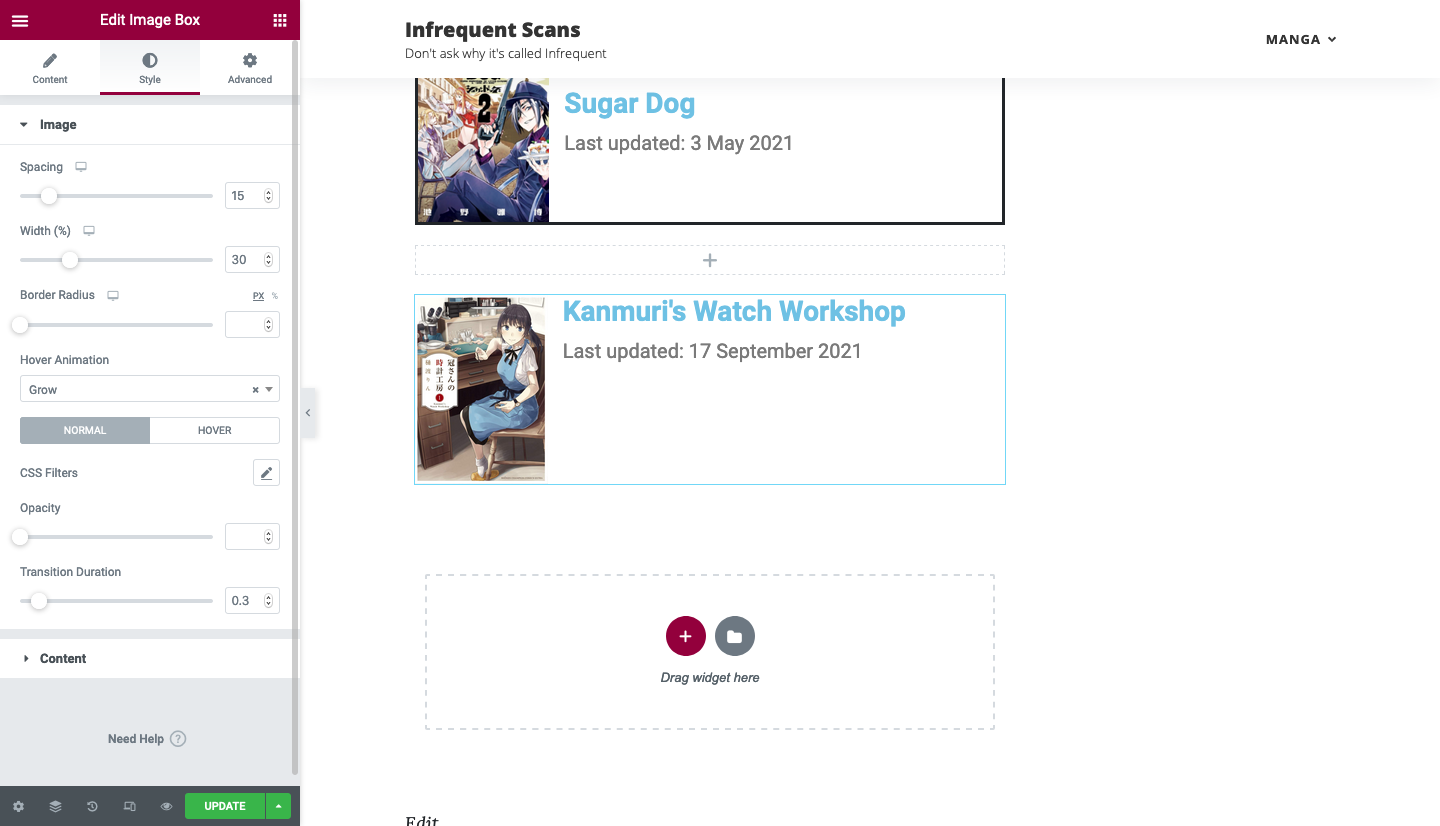
Step #3 Under the “Style” section, under the “image” dropdown, change the hover animation from “none” to “grow”.
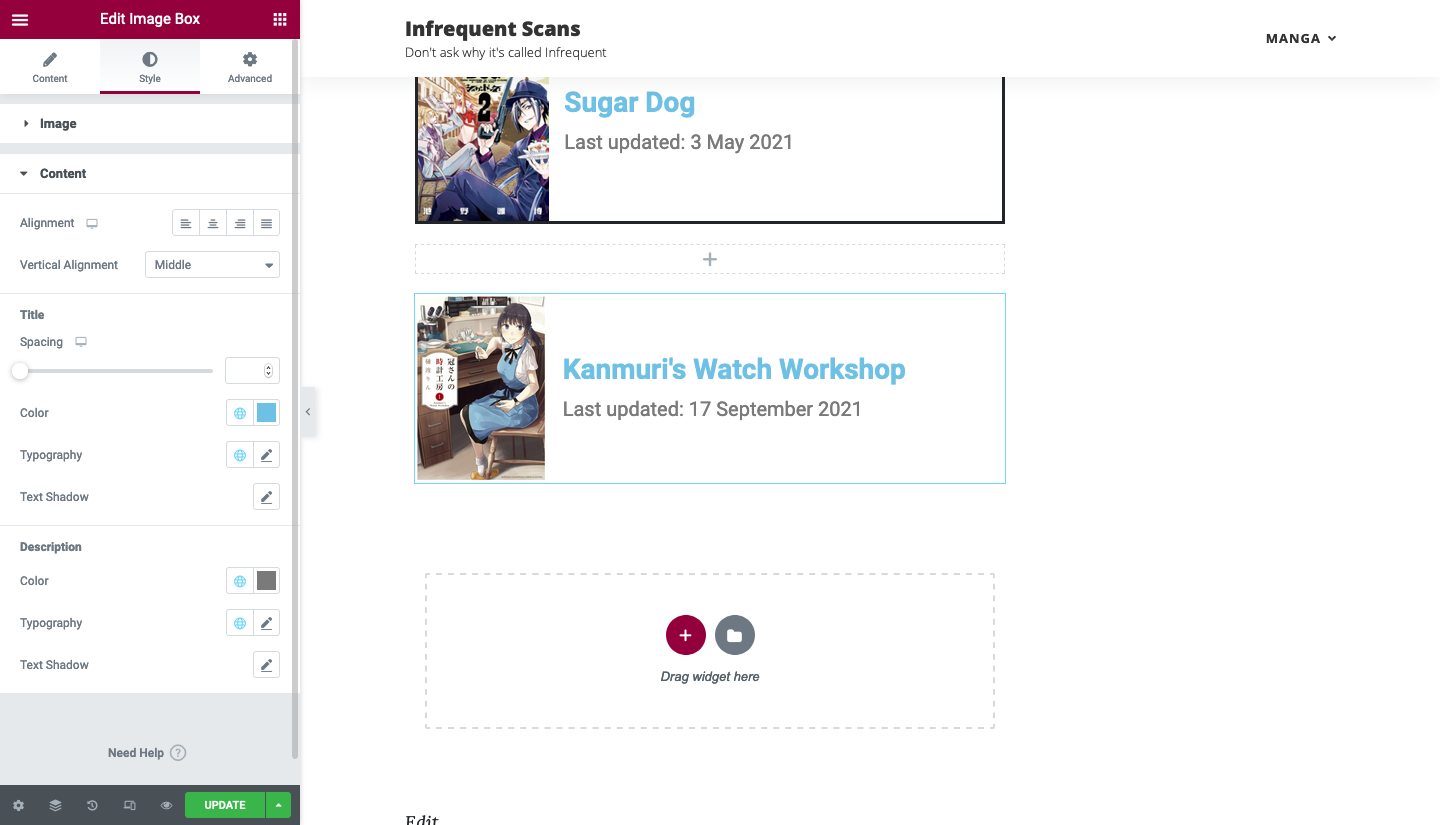
Step #4 Under the “content” dropdown, change the vertical alignment to “middle”. ENSURE THAT THE ALIGNMENT IS NOT SELECTED.
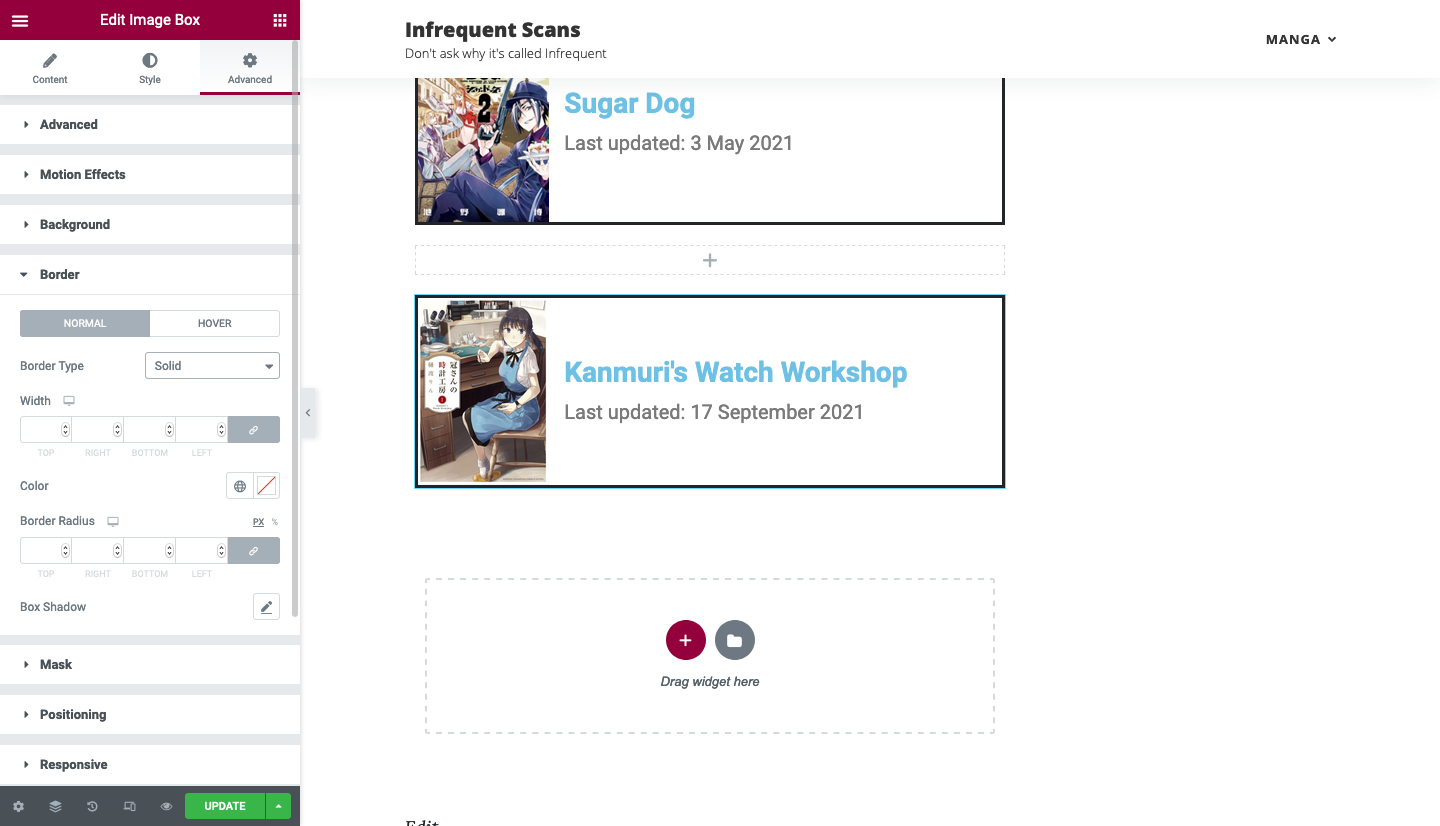
Step #5 Under the adjustment section, go to border and change it from “none” to “solid”.
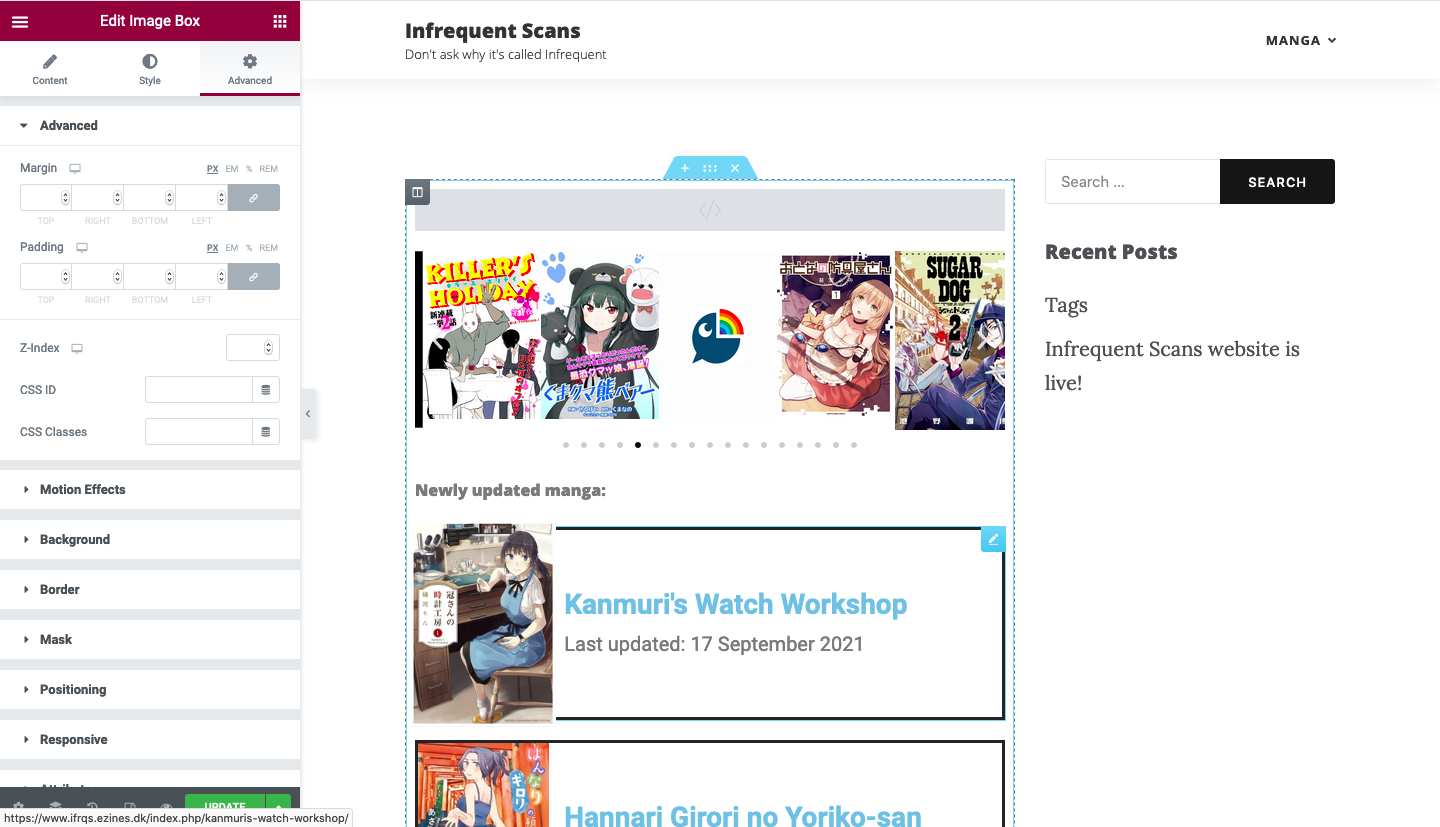
Step #6 Proceed to drag the block all the way up.
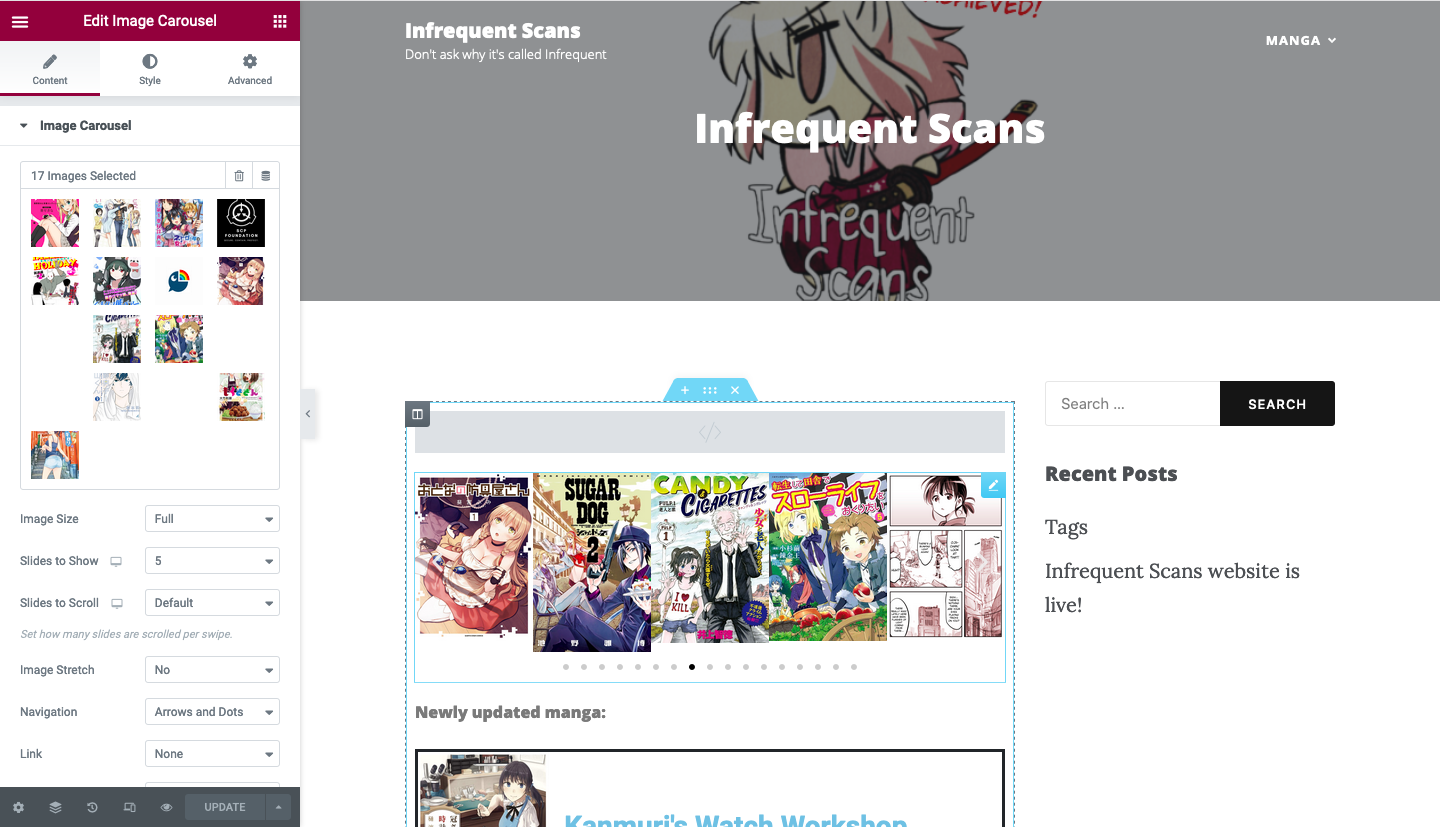
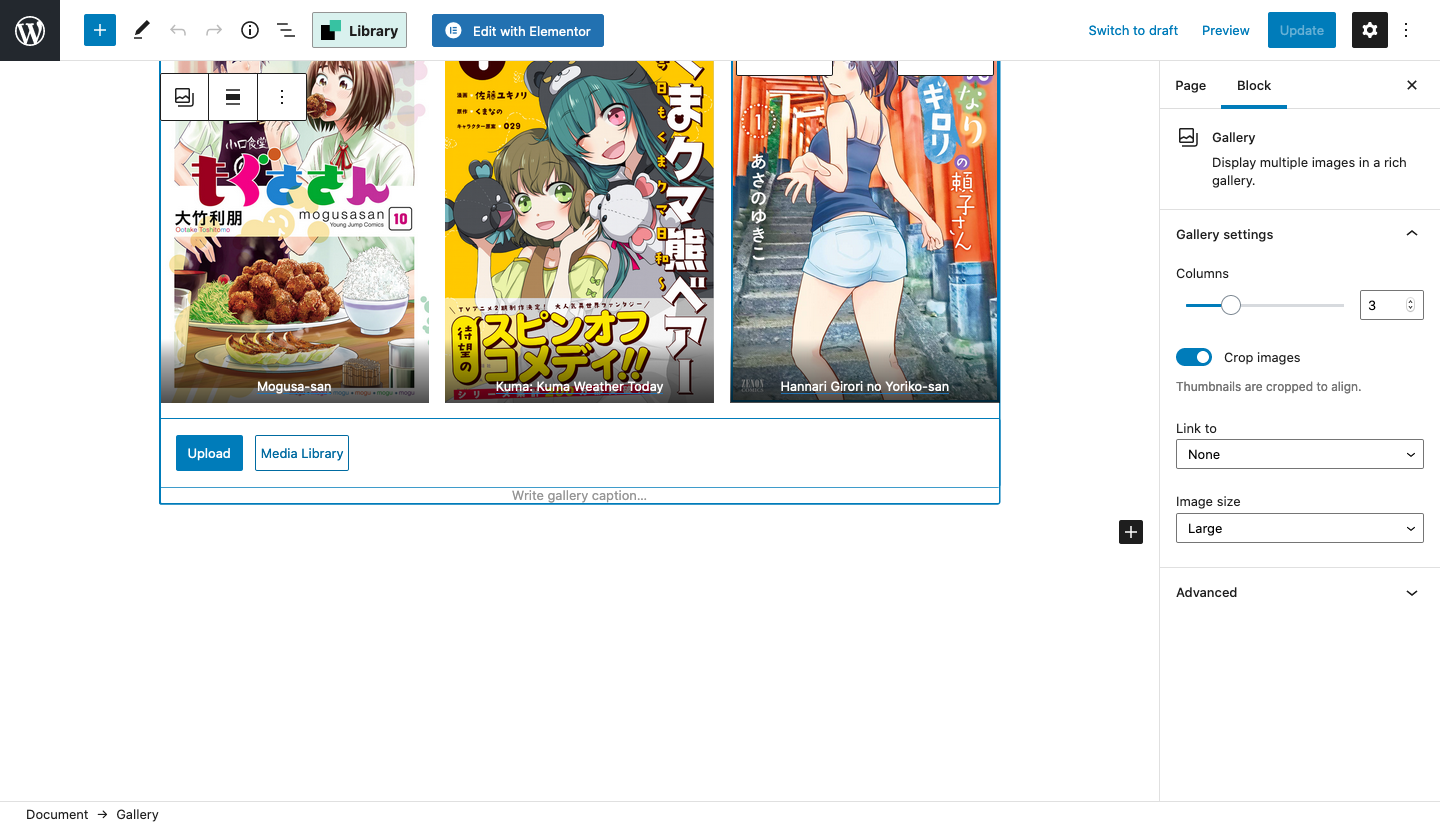
Step #7 To update the image carousell (the moving thing), click on the carousel, and then on the image carousel.
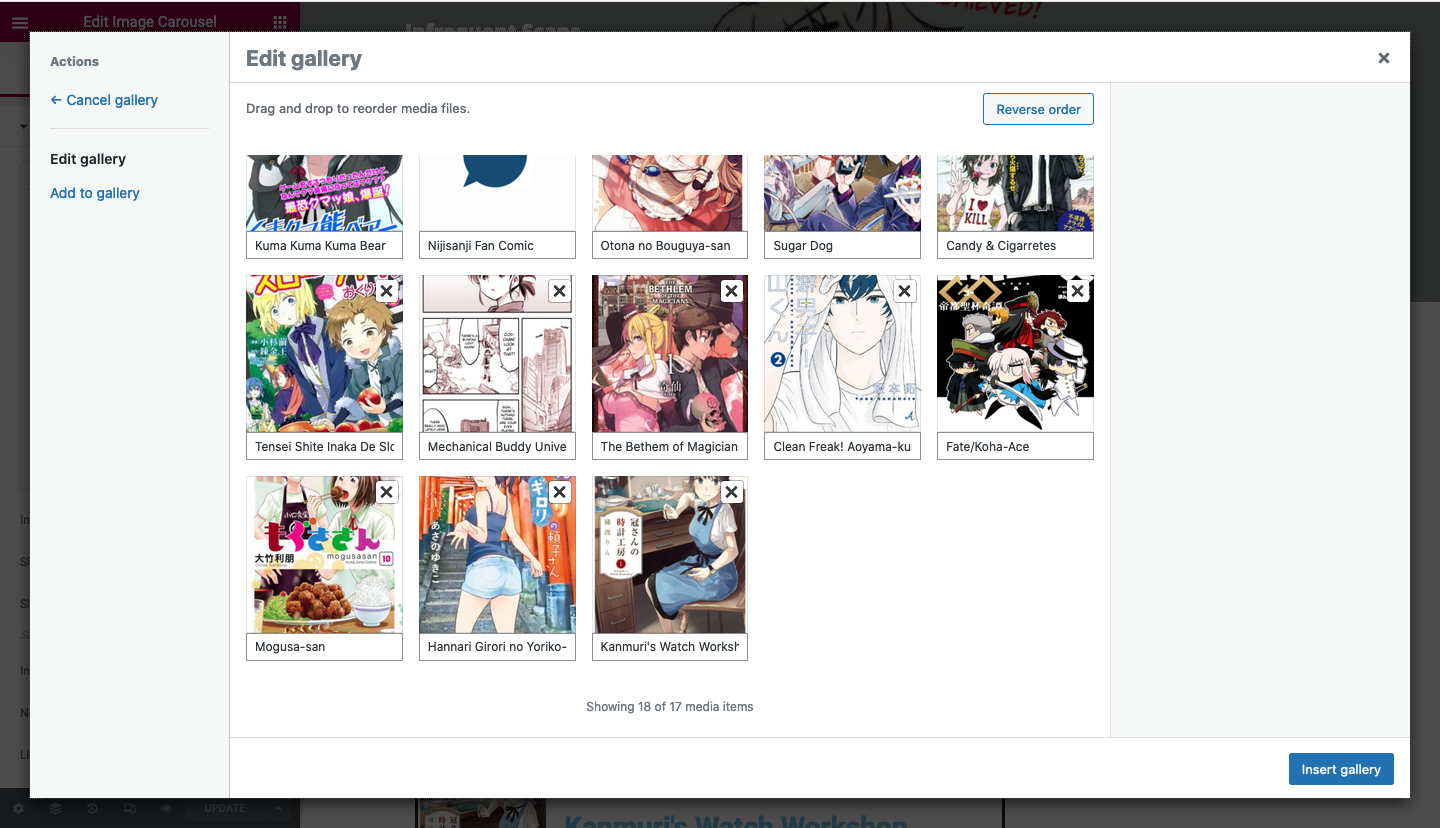
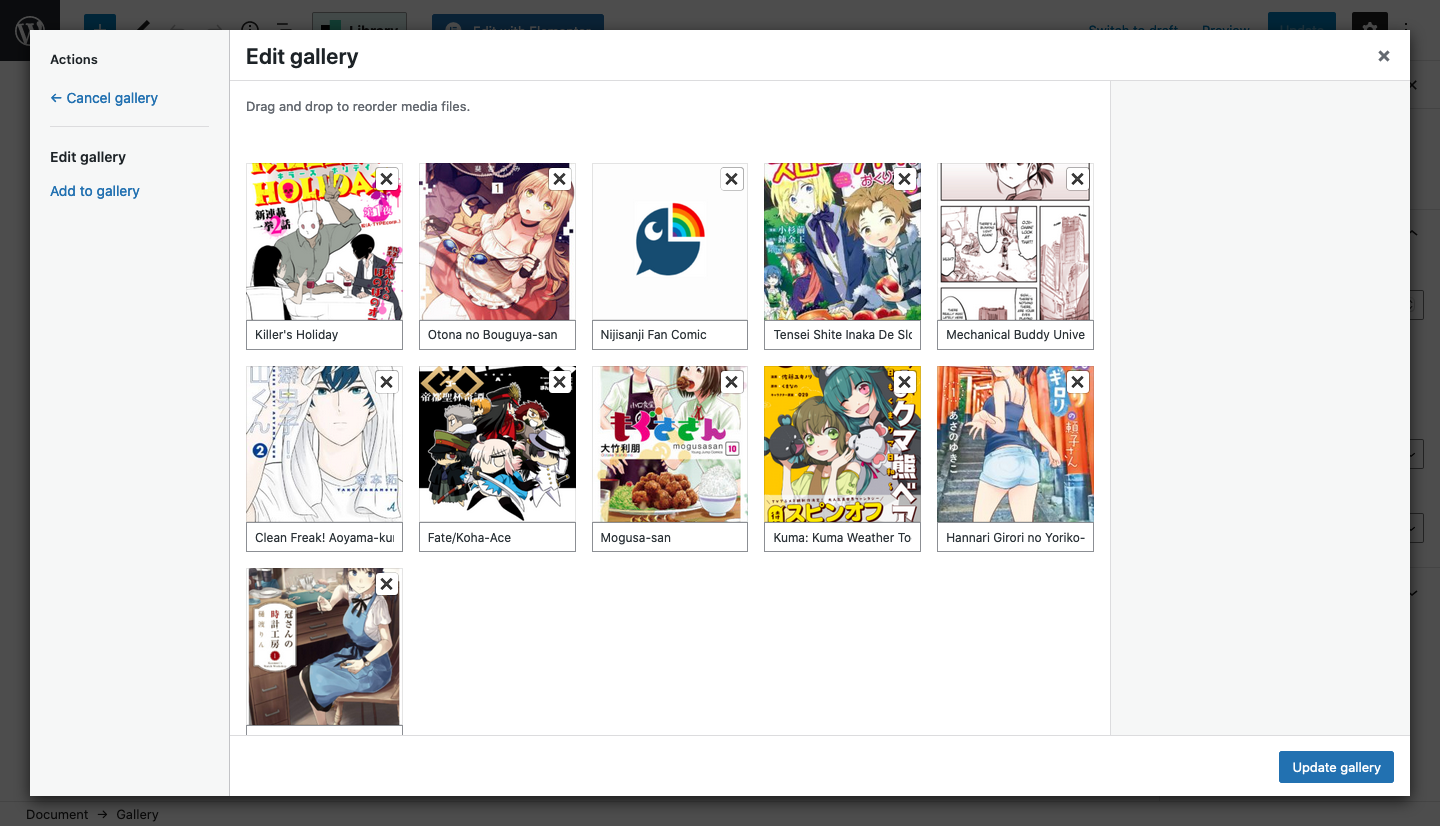
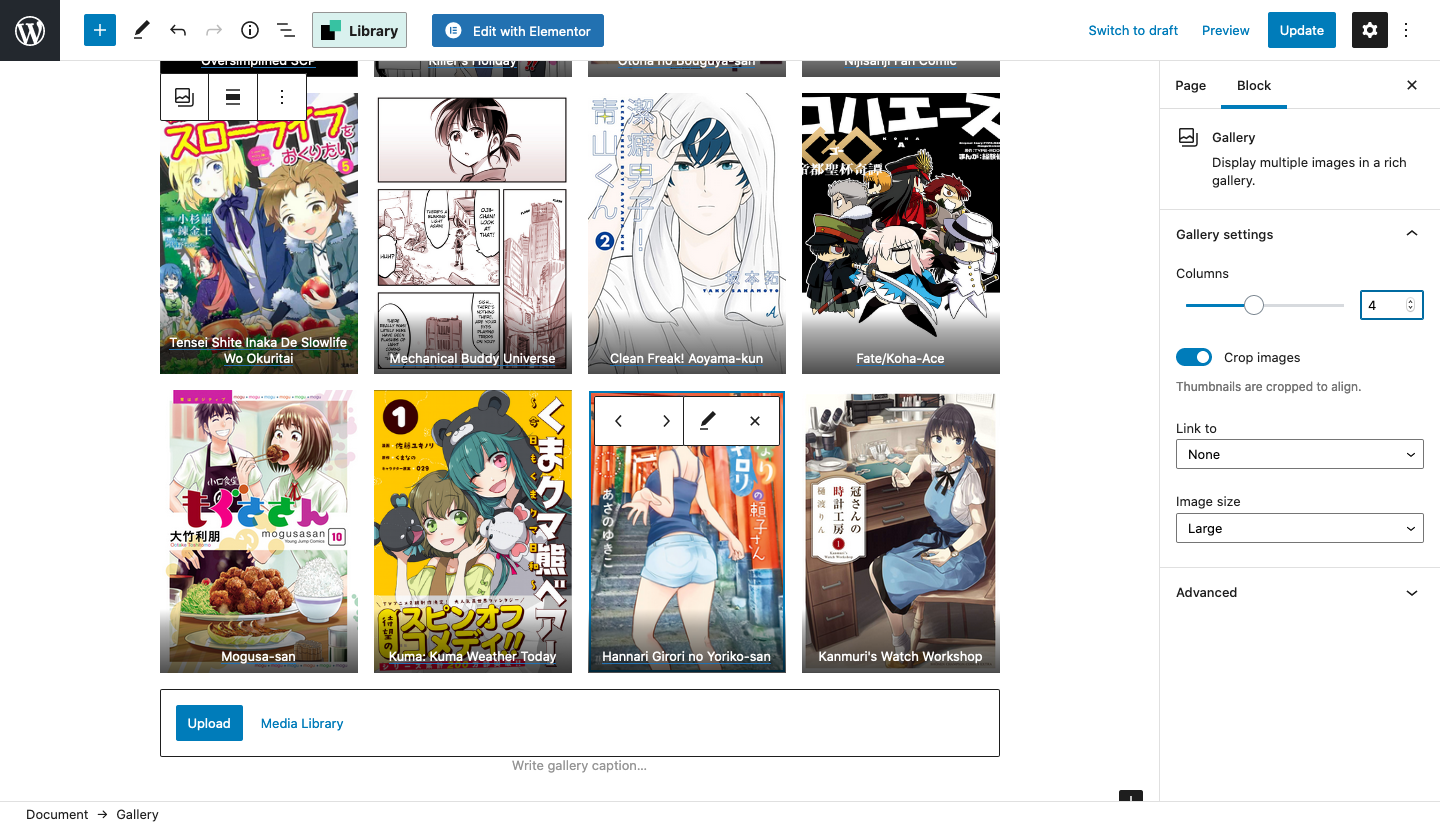
Step #8 Proceed to add the cover page into gallery. Ensure that there are all the cover images are inside. If only the new cover page is inside, remove the new image. Wait for the previous covers to appear before inserting the new cover page again. Caption the image as its name. Click insert gallery.
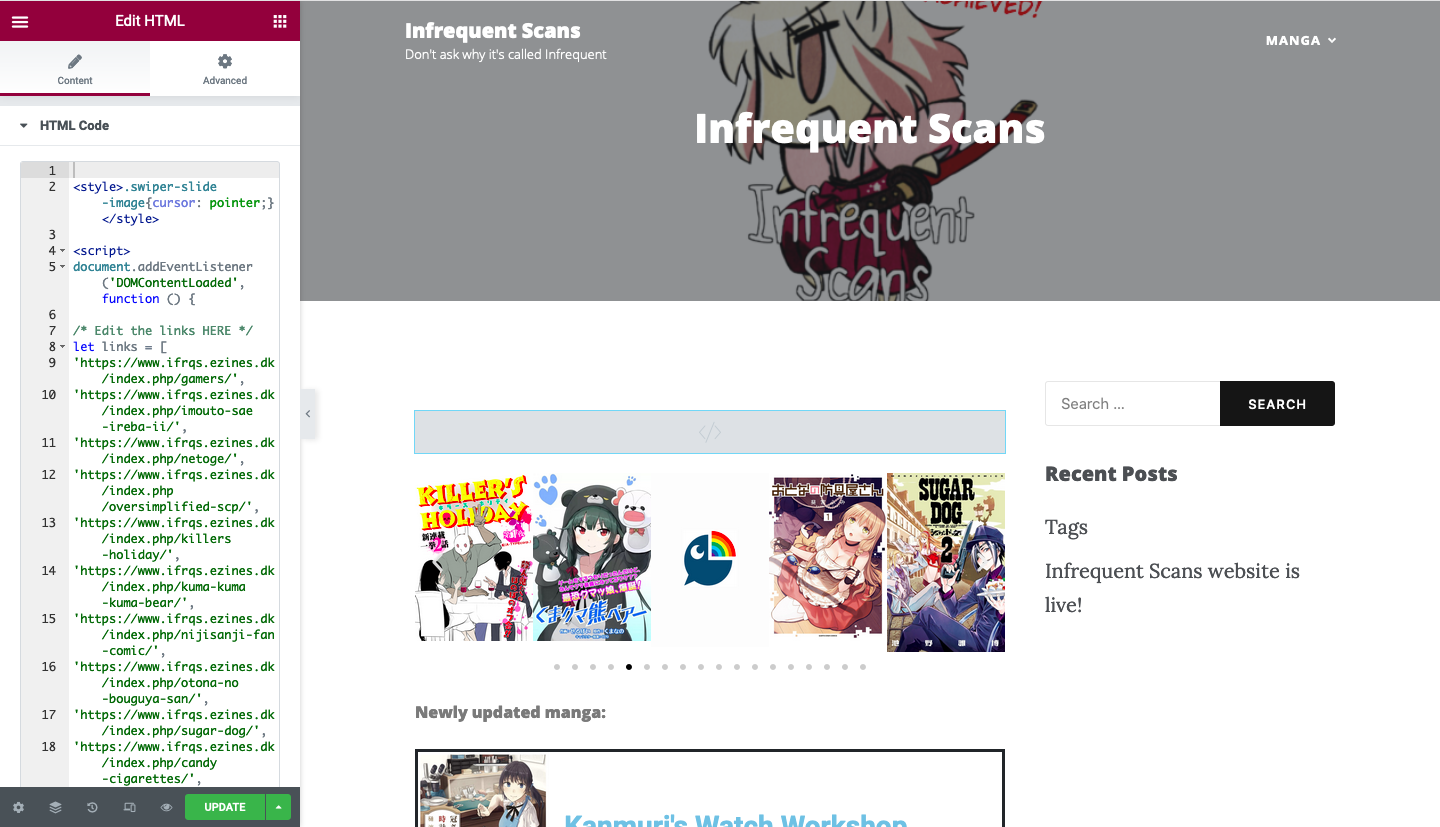
Step #9 Now for the tricky part. I have no knowledge of coding, so please try not to screw up this part. Click on the grey box at the top.
The below is the code for the grey box as a backup in case someone messes it up. This code is accurate as of 18 December 2021, after the addition of “Maou-sama to Kekkon Shitai”.
<style>.swiper-slide-image{cursor: pointer;} </style>

<script>
document.addEventListener('DOMContentLoaded', function () {

/* Edit the links HERE */
let links = [
'https://www.ifrqs.ezines.dk/index.php/gamers/',
'https://www.ifrqs.ezines.dk/index.php/imouto-sae-ireba-ii/',
'https://www.ifrqs.ezines.dk/index.php/netoge/',
'https://www.ifrqs.ezines.dk/index.php/oversimplified-scp/',
'https://www.ifrqs.ezines.dk/index.php/killers-holiday/',
'https://www.ifrqs.ezines.dk/index.php/kuma-kuma-kuma-bear/',
'https://www.ifrqs.ezines.dk/index.php/nijisanji-fan-comic/',
'https://www.ifrqs.ezines.dk/index.php/otona-no-bouguya-san/',
'https://www.ifrqs.ezines.dk/index.php/sugar-dog/',
'https://www.ifrqs.ezines.dk/index.php/candy-cigarettes/',
'https://www.ifrqs.ezines.dk/index.php/tensei-shite-inaka-de-slowlife-wo-okuritai/',
'https://www.ifrqs.ezines.dk/index.php/mechanical-buddy-universe/',
'https://www.ifrqs.ezines.dk/index.php/the-bethlem-of-magicians/',
'https://www.ifrqs.ezines.dk/index.php/clean-freak-aoyama-kun/',
'https://www.ifrqs.ezines.dk/index.php/fate-koha-ace/',
'https://www.ifrqs.ezines.dk/index.php/mogusa-san/',
'https://www.ifrqs.ezines.dk/index.php/hannari-girori-no-yoriko-san/',
'https://www.ifrqs.ezines.dk/index.php/kanmuris-watch-workshop/',
'https://www.ifrqs.ezines.dk/index.php/mobile-suit-gundam-the-origin-msd-cucuruz-doans-island/',
'https://www.ifrqs.ezines.dk/index.php/inuyama-tamaki-channel-story-of-our-secret/',
'https://www.ifrqs.ezines.dk/index.php/akiyama-san-no-tori-life/',
'https://www.ifrqs.ezines.dk/index.php/please-take-my-brother-away/',
'https://www.ifrqs.ezines.dk/index.php/heartwarming-meals-with-mother-fenrir/',
'https://www.ifrqs.ezines.dk/index.php/maou-sama-to-kekkon-shitai/'
];

document.body.addEventListener('click', function (e) {
if (e.target.closest('.swiper-slide')){
let i = e.target.closest('.swiper-slide').getAttribute("data-swiper-slide-index");
location = links[i];
}
});
});
</script>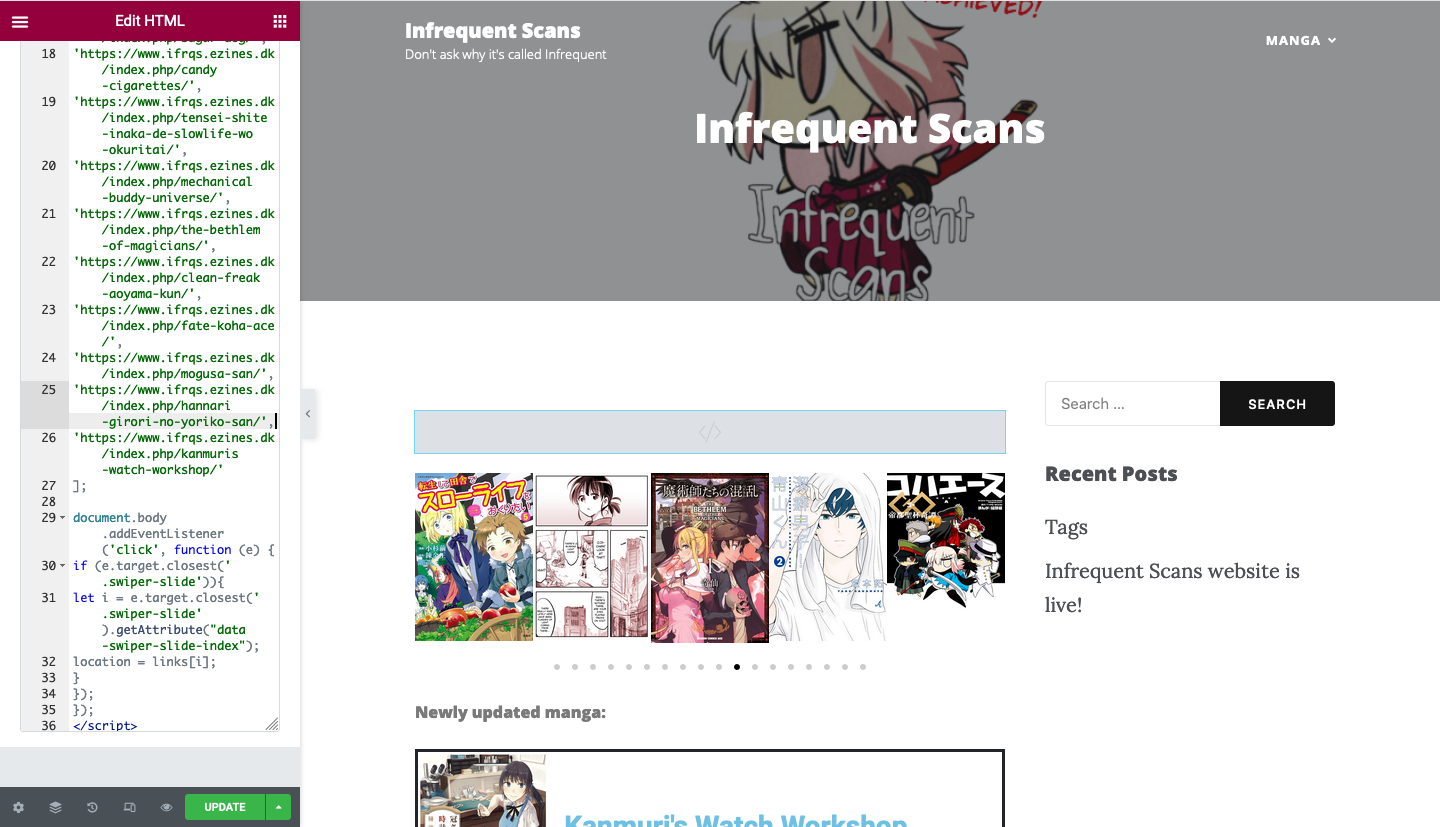
Step #10 Select the last line of the links, and paste the link for the new image. REMEMBER TO ADD A “,” TO THE LAST LINE OF THE PREVIOUS LINK. After this, press update and hope everything works. With that, you have finished updating the front page.
Genre page
Step #1 Go to the relevant genre page. Select media library.
Step #2 Insert the cover image. Once again, please ensure all the other images are inside as well. If you have not, fill in the caption.
Step #3 Adjust the column to make everything look nice.
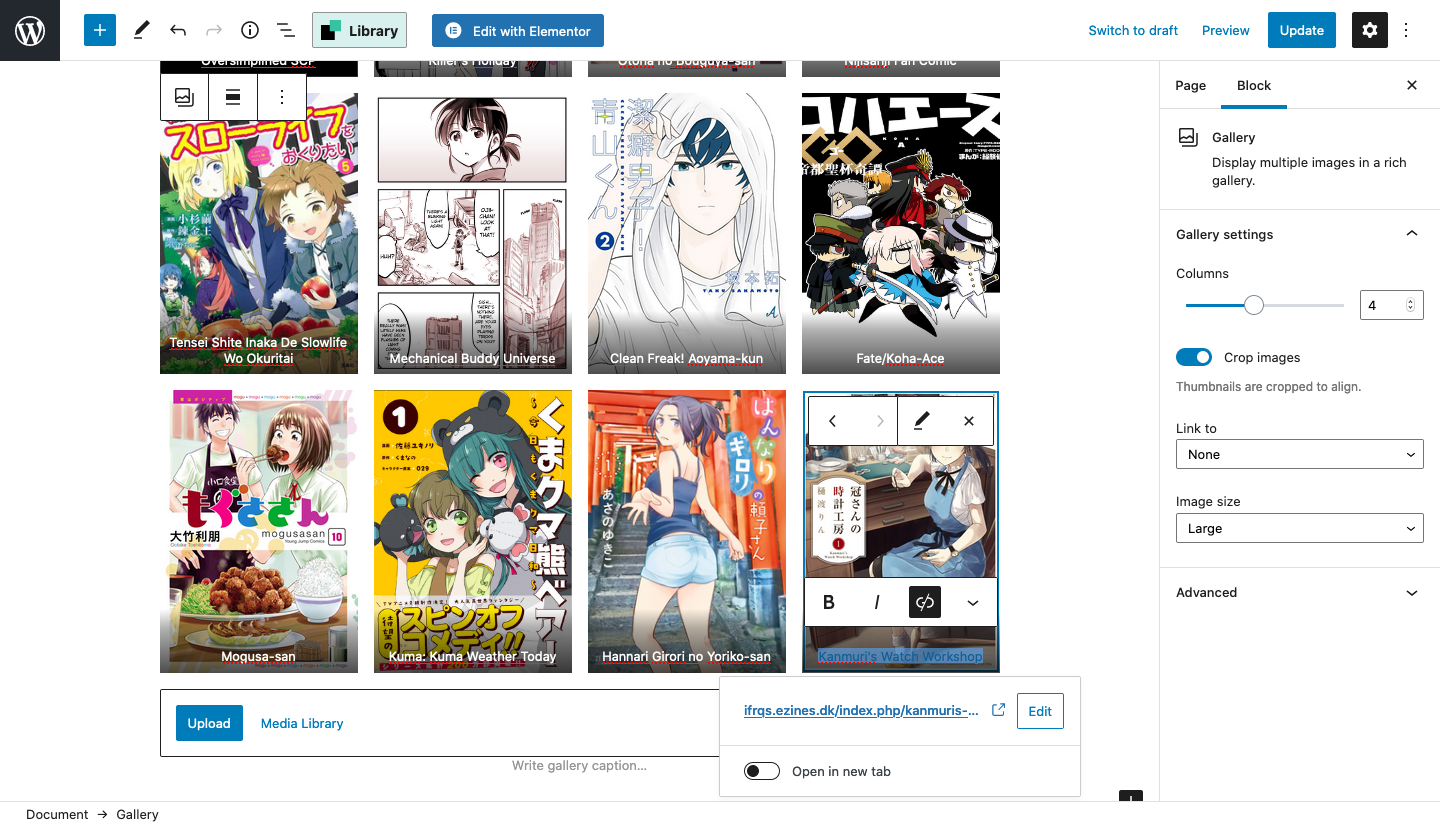
Step #4 Highlight the caption, and insert the link.
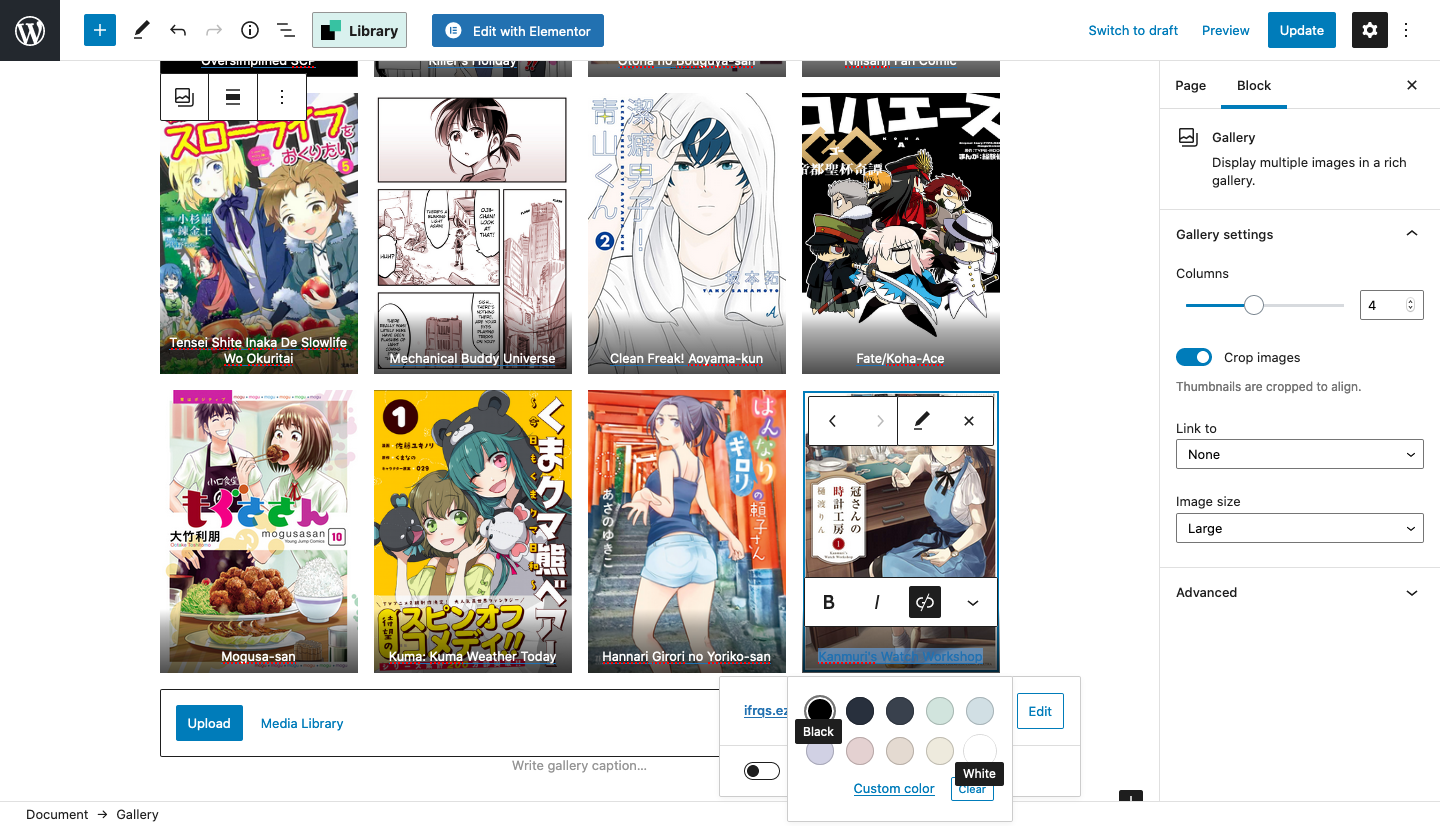
Step #5 Select the caption and change the colour to white. With that, you have finished adding a new series!
Add a User
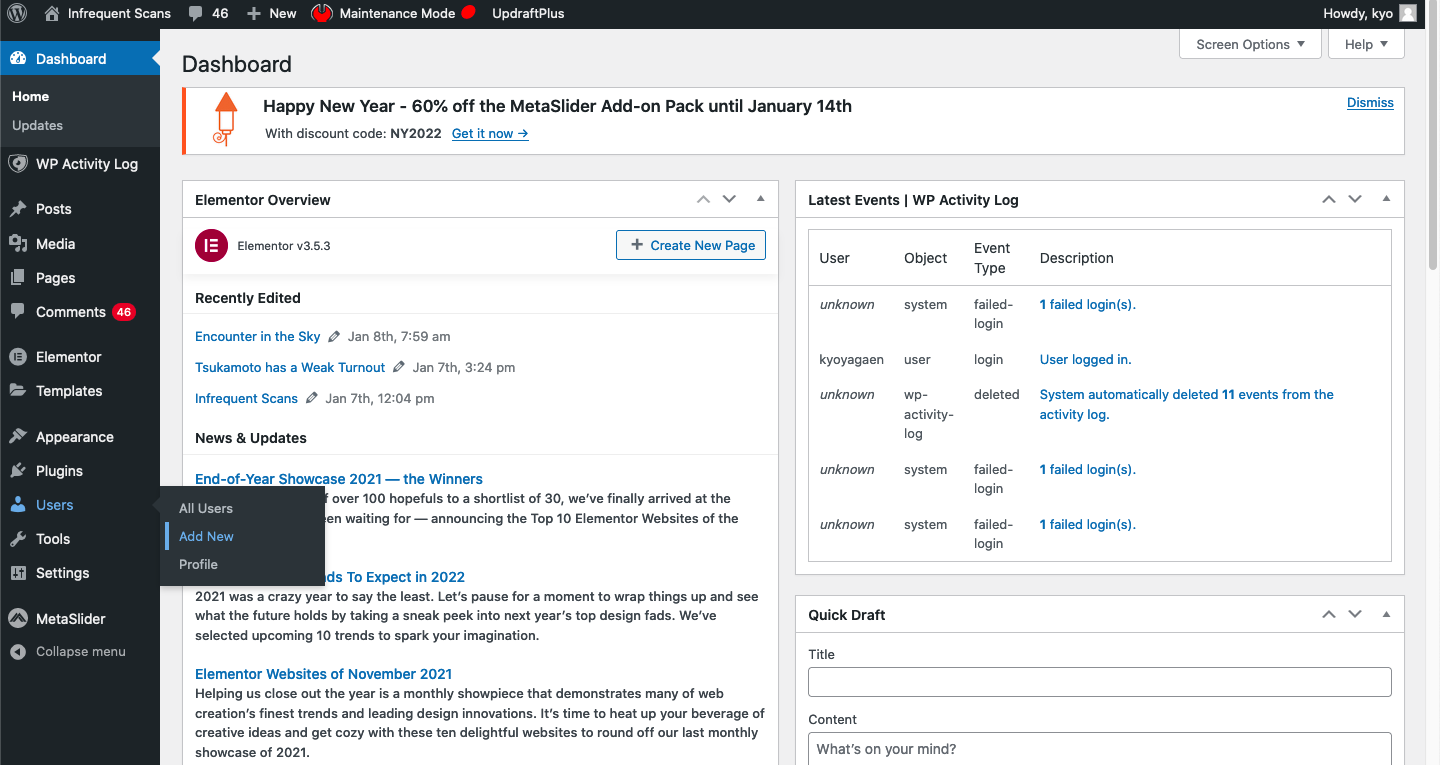
Step #1 Go to the website. On the sidebar, hover your mouse over “Users”. Go to “Add New”.

Step #2 This screen will pop up. Enter the relevant details. Send the username and password to the new user. Ask him to login and change the password.
Color (as of Feb 2022 update)
The format for changing color has changed with the new update. Here is a video on how to change the color when adding link to text. The Highlight function (text color) is still really buggy for some reason, so there may be issues. If RGB number refuses to change, use the slider to go near the value, then use arrow up/down key to change it. RGB: 0, 113, 161
This upload guide is accurate as of 6 February 2022. If any issues arise, contact kyo on discord.